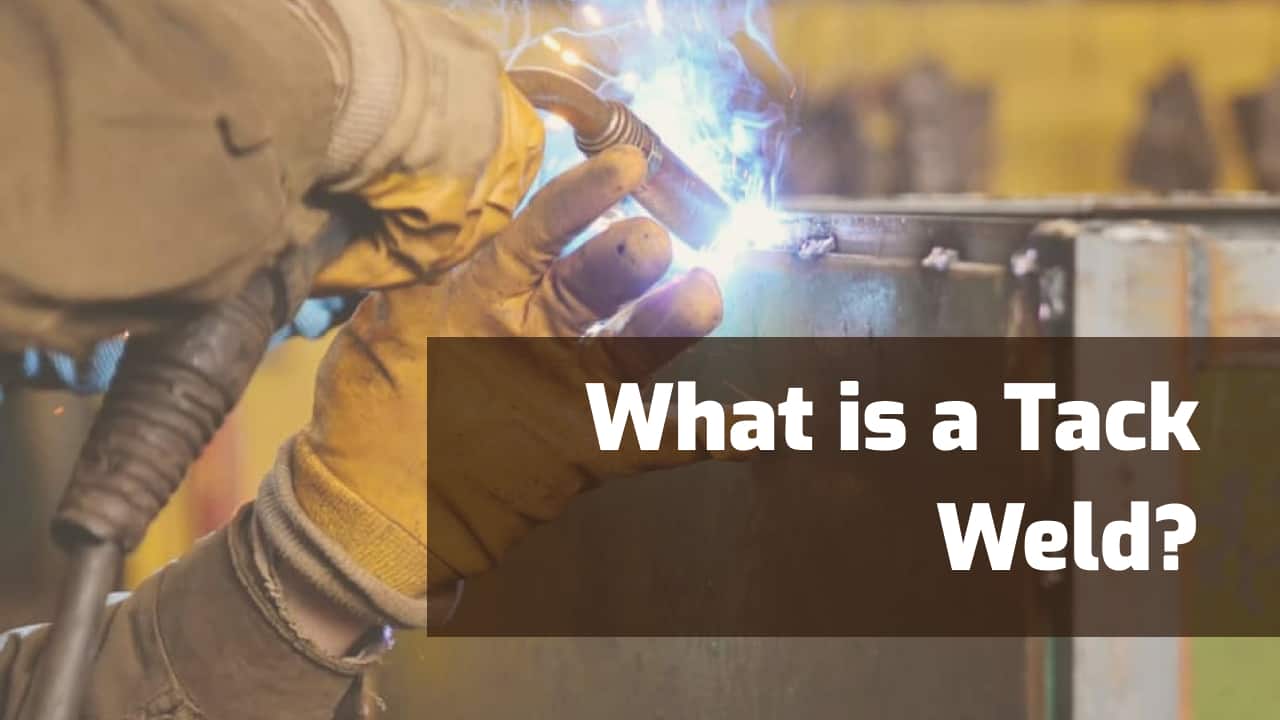
Tack welding is a quick pre-welding process of applying small dot-like beads throughout the joint’s length. The number of required tack welds depends on the joint geometry, length, material thickness, and metal type.
All welders need tack welding as one of the fundamental skills in their toolbox. Almost every welding job requires tack welds, particularly complex joints.
This article will teach you what tack welding is, its purpose, when and how to use tack welds, and the different tacks you can employ.
What is The Purpose of a Tack Weld?
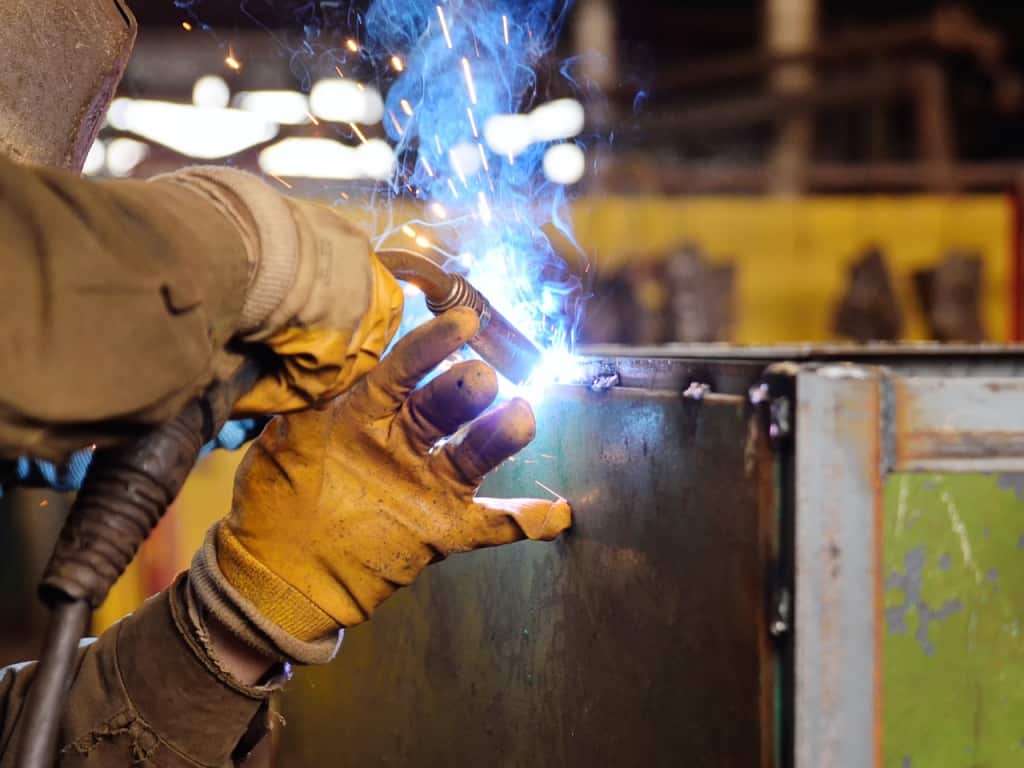
The function of tack welding is to keep the work parts in proper alignment while the actual welding takes place. But that doesn’t mean that tack welds are insignificant or that you can use them without worrying about mistakes.
On the contrary, improper tack welding often leads to many issues and can completely ruin your work.
Tack welds hold the joint in place with or without the clamps. Sometimes fixtures like magnets and clamps need to be used before placing tack welds.
But most of these fixtures are unlikely to hold the joint geometry under internal or external welding stresses, which is why tack welds are better. Plus, removing the clamps to access the joint with the welding consumable is often necessary.
As you start laying the actual weld along the joint line, the internal stresses of metal expansion and contraction tend to separate the joint, warp it, and otherwise change its shape. Tack welds must endure these forces until the weld seam is completed.
The Size And Number of Tack Welds
Tack welds should be small enough to easily incorporate into the final weld bead but large enough to hold the parts firmly in place.
It’s tricky to strike the right balance between the two. However, you should never make tack welds larger than the final weld.
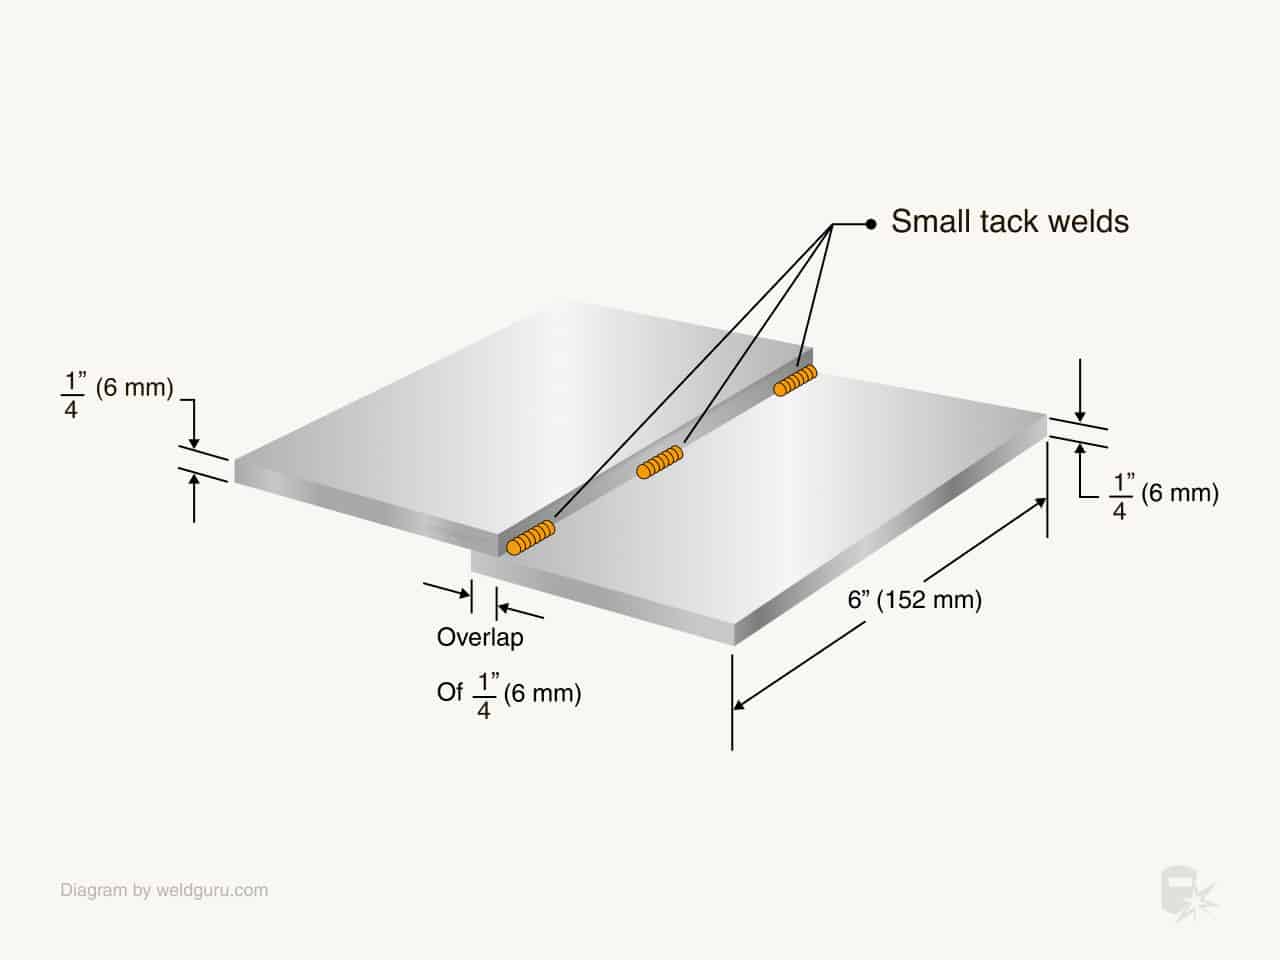
© weldguru.com – Image usage rights
For example, a 1/2-inch wide weld joint shouldn’t have 5/8-inch tack welds. If the tack welds are oversized, they will cause a weld shape discontinuity and become a significant stress concentration point.
Here are some pointers to consider when choosing the size and number of tack welds:
- Internal stresses – the larger the final weld, the more internal forces the tack welds must endure as the permanent weld cools. So, insufficient or undersized tack welds will break as the weld cools, even while you progress along the joint.
- Length of the joint – shorter joints require fewer tack welds if the joint geometry is straight. However, if you are welding a curvy, short joint, it may need many tacks.
- Specified tolerance – depending on the desired joint precision, you may need more tack welds.
- Complex fit-up – if welding complex joint geometries, you will need to place more tack welds at the proper locations.
- Material thickness – thin gauges require many evenly-spaced small tack welds, while thick metal parts can be tack welded in just a few spots.
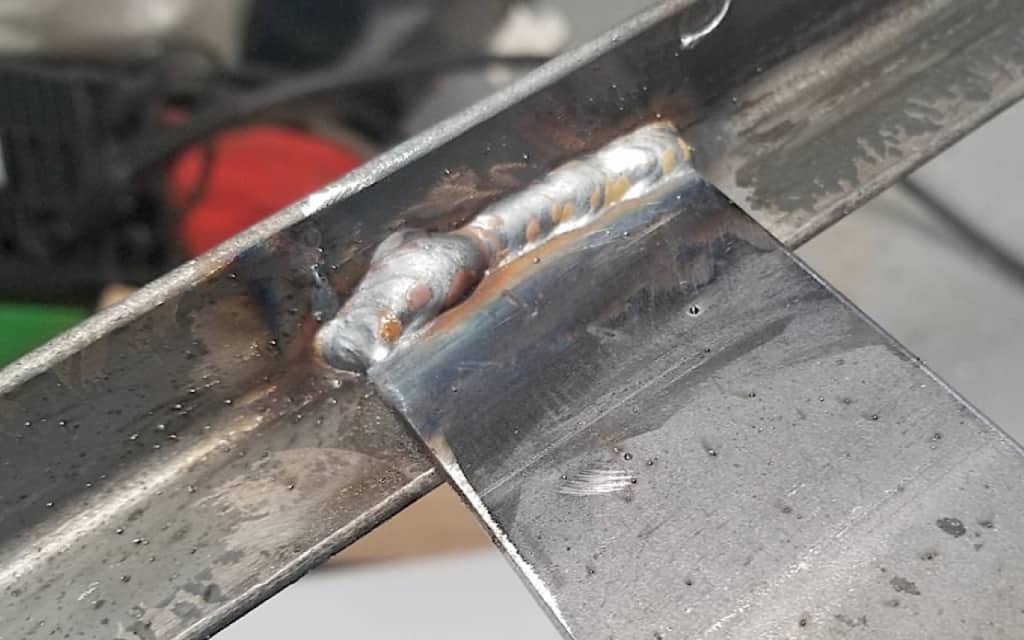
© weldguru.com – Image usage rights
Tack Weld Position
The tack welds should be located within the joint so they can be remelted in the final pass. If necessary, grind the tack weld shape to align with the ground V-groove or another joint type.
Stick Welding (SMAW) Tacks
It’s most challenging to produce tack welds using the stick welding (SMAW) process. The arc tends to wander, and the smoke reduces weld pool visibility.
Plus, it’s not easy to control the electrode, especially when starting the arc with a used one.
Some welding electrodes are more challenging to restart after you’ve made the first tack. For example, the E7018 electrode burns the filler metal core deep inside the flux coating.
So, when you try to re-strike the arc for the subsequent tack weld, you’ll be scratching the flux on the electrode’s tip over the metal. As a result, your arc won’t start. A simple solution is to use a metal file, or your fingers, to remove the excess flux coating from the tip before each tack weld.
The E6010 electrode works flawlessly for tack welds. Still, most inverter-based welders can’t run it properly because their capacitors don’t store enough current for the electrical rush during the arc ignition.
But you can use the alternative E6011 rod that does pretty well too. Both rods have great arc restarting abilities, and their weld pools freeze quickly.
The E6013 doesn’t work well for tacking because it deposits more slag than the filler metal, making tacks very weak.
Stick welding is best suited for medium to thick gauge metal. Welding thin gauges with MMA is tough, but tack welding sheet metal with stick electrodes is even more difficult.
TIG Welding (GTAW) Tacks
TIG welding (GTAW) is well suited for tack welding thanks to its inherent precision. The arc is stable, focused, and offers good visibility.
Plus, you can tack weld thin gauges without filler material. Just use low amperage to fuse tacks along the joint.
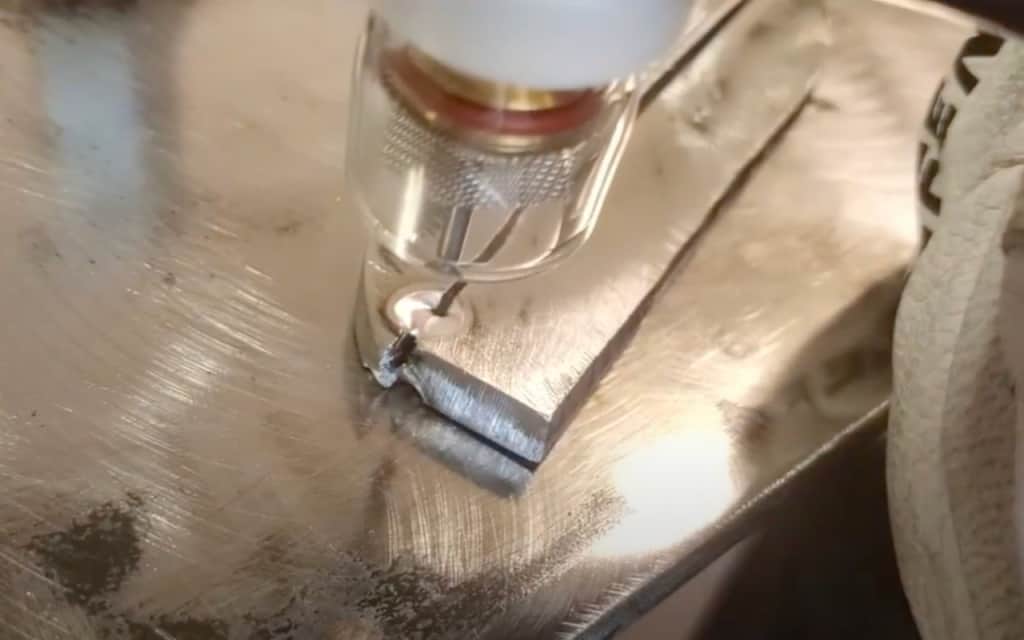
However, if using the filler metal, make sure to use a rod diameter equal to or smaller than the thickness of the welded metal. Otherwise, you may burn through or warp the metal by the time the filler metal melts into place.
It’s best to use a sharp tungsten electrode tip for TIG tack welding. This narrows the arc cone and focuses the heat in the tack zone.
The ceriated tungsten works well for thin sheet metal thanks to its outstanding low amperage welding characteristics and excellent arc starts.
But, for thicker materials, use thoriated or lanthanated tungsten electrodes. Both offer great arc starts, but lanthanated tungsten is not as radioactive compared to thoriated.
MIG/FCAW Tack Welds
MIG welding works well for tacking. The MIG torch lets you precisely fill the tack weld using the wire feeder.
Some tips for MIG tacking are:
- Clip the end of the wire before each tack, especially if a ball forms
- Use a smaller wire diameter because this reduces the volume of deposited metal and the heat input
- Increase voltage output because this amplifies the electrical “push” from the arc and flattens the bead
- Lower wire feed speeds prevent burn-through on thin material
How To Tack Weld Metal
You can employ many tack welding strategies, but the two described below work the best in most cases:
- Start at the middle and work to the ends – Place the first tack in the joint’s center, then proceed to tack along the joint, alternating on both sides of the initial tack weld.
- Start at the ends, then bisect – Place tacks at the joint’s start and stop. Then, place a tack weld in the middle of these two and keep putting tack welds in the center between each resulting segment until you achieve the desired number of tacks.
These two methods prevent uneven heat as well as excess stress, warping, and gaps.
When To Use Tack Welding
There is rarely a reason to skip tack welding. If correctly done, tacks improve joint fit up and weld quality. But, you should always use tack welds with:
- Thin stock
- Large parts
- Complex geometries
- Stresses caused when the parts need to be moved as the final welding takes place
- Welds where you cannot use clamps or other fixtures
Types of Tack Welds
There are three types of tack welds:
- Standard tack weld
- Bridge tack weld
- Hot tack weld
1. Standard Tack Weld
Standard tack welds are placed within the joint and are intended to be consumed during the final weld. These welds hold the pieces together in the proper fit while the final welding takes place.
2. Bridge Tack Weld
If the joint design requires a root opening, like pipes often do, it’s necessary to bridge the gap with tacks.
However, this form of tacking requires more skill. It’s easy to apply excess heat, which widens the gap on the opposite side of the joint.
But, one significant point here is that bridge tacks don’t penetrate the root of the joint. You can grind them off after you make the first root pass.
3. Hot Tack Weld
If weld quality is not paramount and trapping internal forces won’t cause your welding inspector to go berserk, using excessive heat and filler metal deposition can sometimes work in your favor.
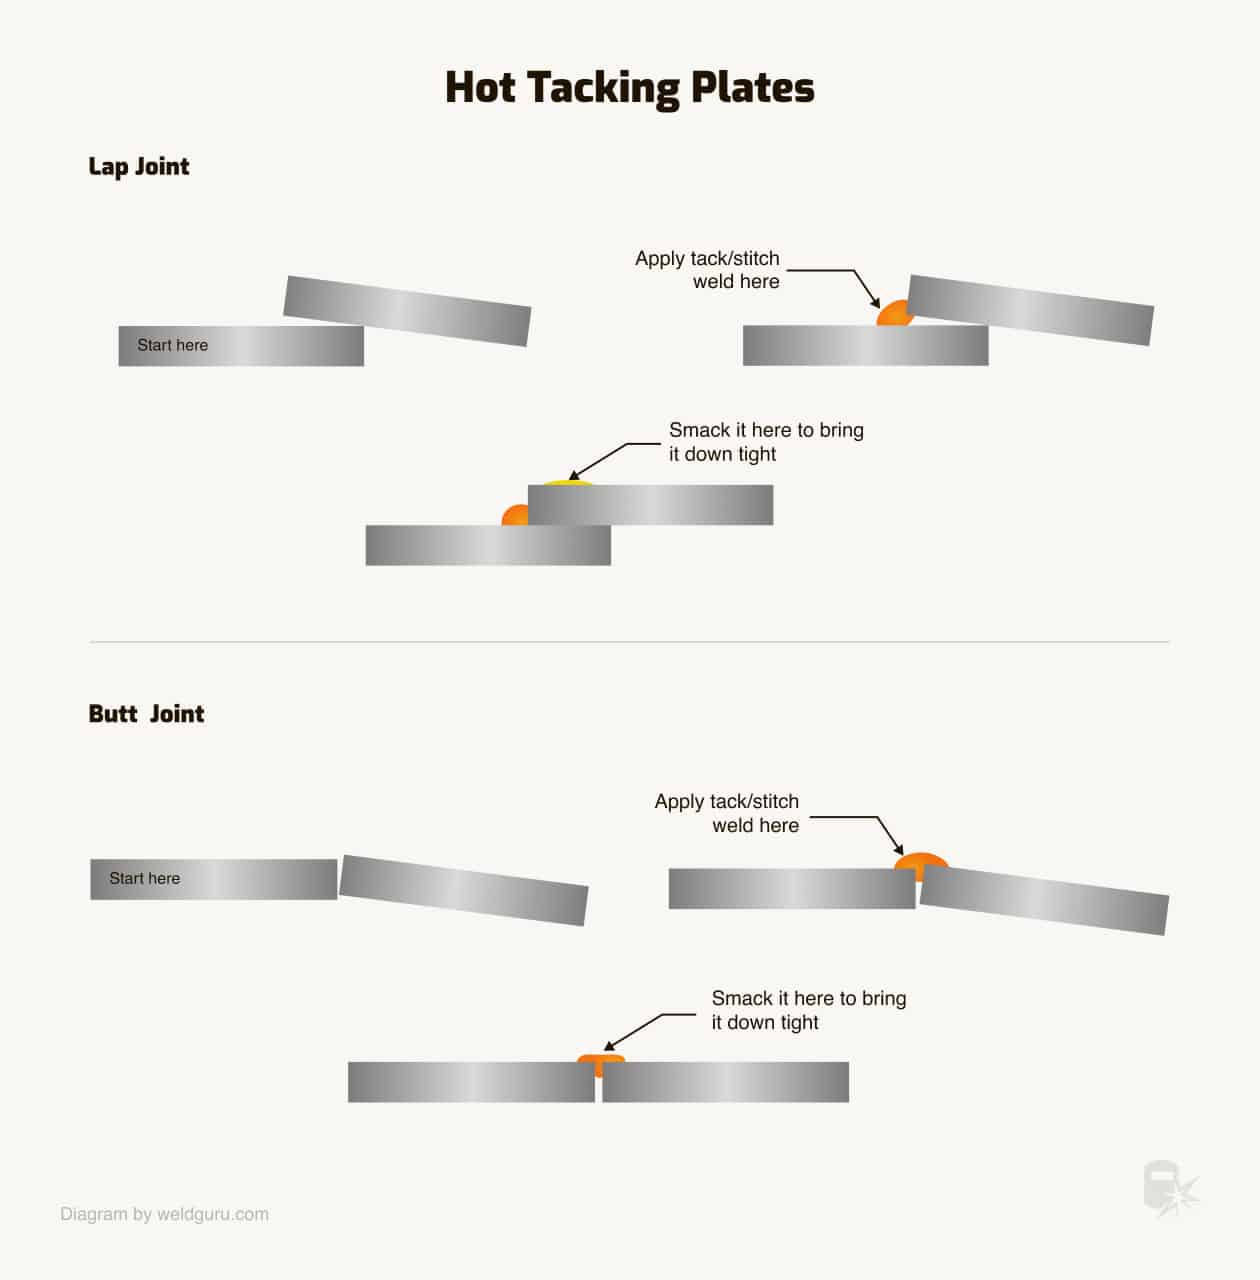
If you need to bridge a significant gap, you can force it to close on itself by applying excessively heated tacks and hammering it in place.
The overly high heat will cause powerful contraction. So, as the metal cools, hammer the gap closed. The weld’s cooling action will aid you in bringing the parts together. Just remember that this is not ideal and probably wouldn’t pass quality checks.
These hot tacks are referred to as “cleats” or “dogs,” and many welding codes prohibit their use.
© weldguru.com – Image usage rights
Advantages of Tack Welding
- These temporary welds hold parts together in a solid joint geometry
- Allows quick disassembling if necessary
- You can weld without using bulky fixtures
- It’s possible to hold the joint together in tight spaces
- Sets and maintains the joint gap
- Provides mechanical strength against base metal weight if moved
- It helps to prevent distortion during welding
- It’s relatively easy to do once you know all the pitfalls of tacking
- All materials can be welded, can also be tack welded
Disadvantages of Tack Welding
- Improper tack weld configuration can impair joint quality.
- It makes slag entrapment in the final weld easier.
- Exacerbates buildup of weld oxides.
- Requires post-tack weld cleaning.
- Hard and brittle steel requires special tack welding procedures because it can cause hard and crack-sensitive spots. Only qualified welders should work on these steels.
- Removing tack welds that cause a hard spot on specialty steels causes invisible cracks in the underlying metal. So, unskilled operators may accidentally create a big problem down the line.
- Tack welds introduce rapid, localized heating and cooling, which some materials don’t handle well.
Wrapping It
Tack welding is easy to do when you know the proper techniques. Making a single tack weld is easy. But where most people go wrong is in the order of placing the tacks.
Ensure that the tack welds and heat input are evenly spaced and spread out, and you’ll prevent most tack welding issues.
Also, find a good balance between the number of tack welds and their size. This may take some trial and error.
So, practice on scrap metal if making tack welds for the first time. You’ll be able to determine the suitable tack weld configuration every time with experience.
