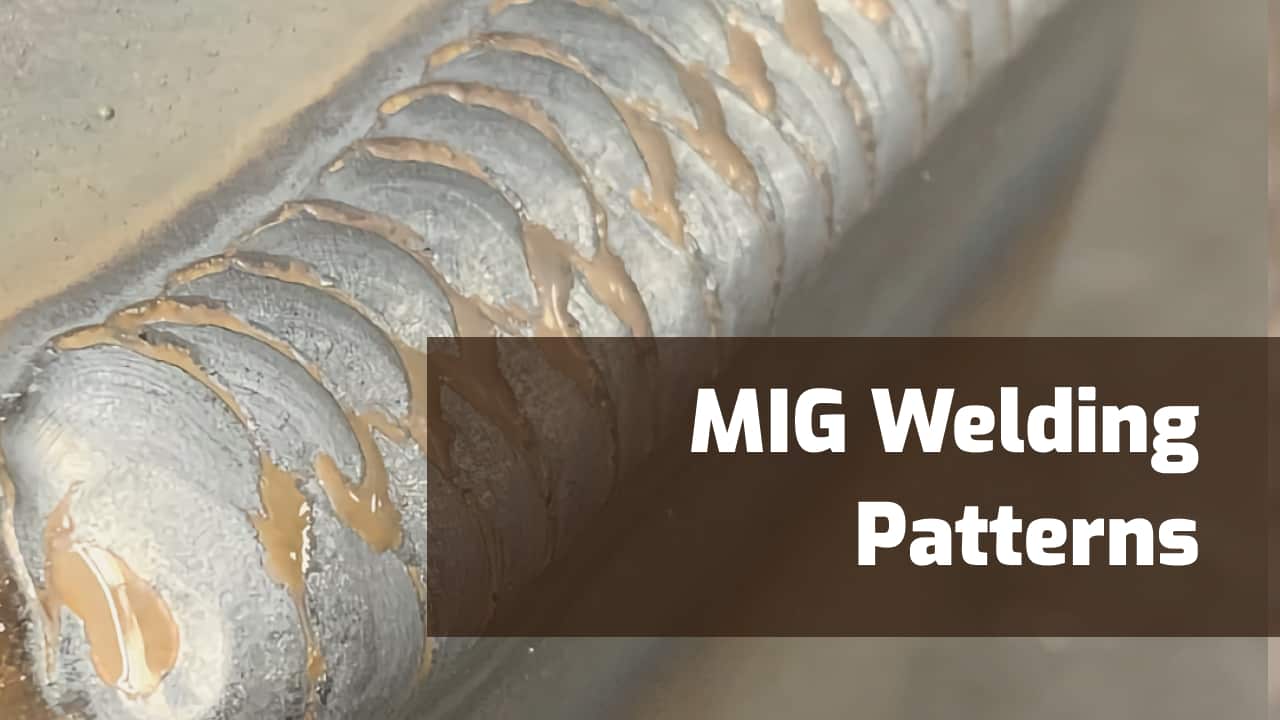
MIG Welding patterns are used for many different reasons. The most common reasons are to make your weld more cosmetically pleasing and to help avoid undercut and slag entrapment at the edges of your weld.
The six common MIG welding patterns we’ll cover are the stringer, circle pattern, weaving pattern, whipping pattern, figure 8, and J pattern.
All patterns have pros and cons, difficulty levels, and the best situations to use them.
An important note: The more movement you have in your weld pattern, the higher the degree of difficulty will be without creating weld faults.
Let’s dig into them a little bit deeper now.
1. The Stringer Welding Pattern
© weldguru.com – Image usage rights
Difficulty Level: Easy
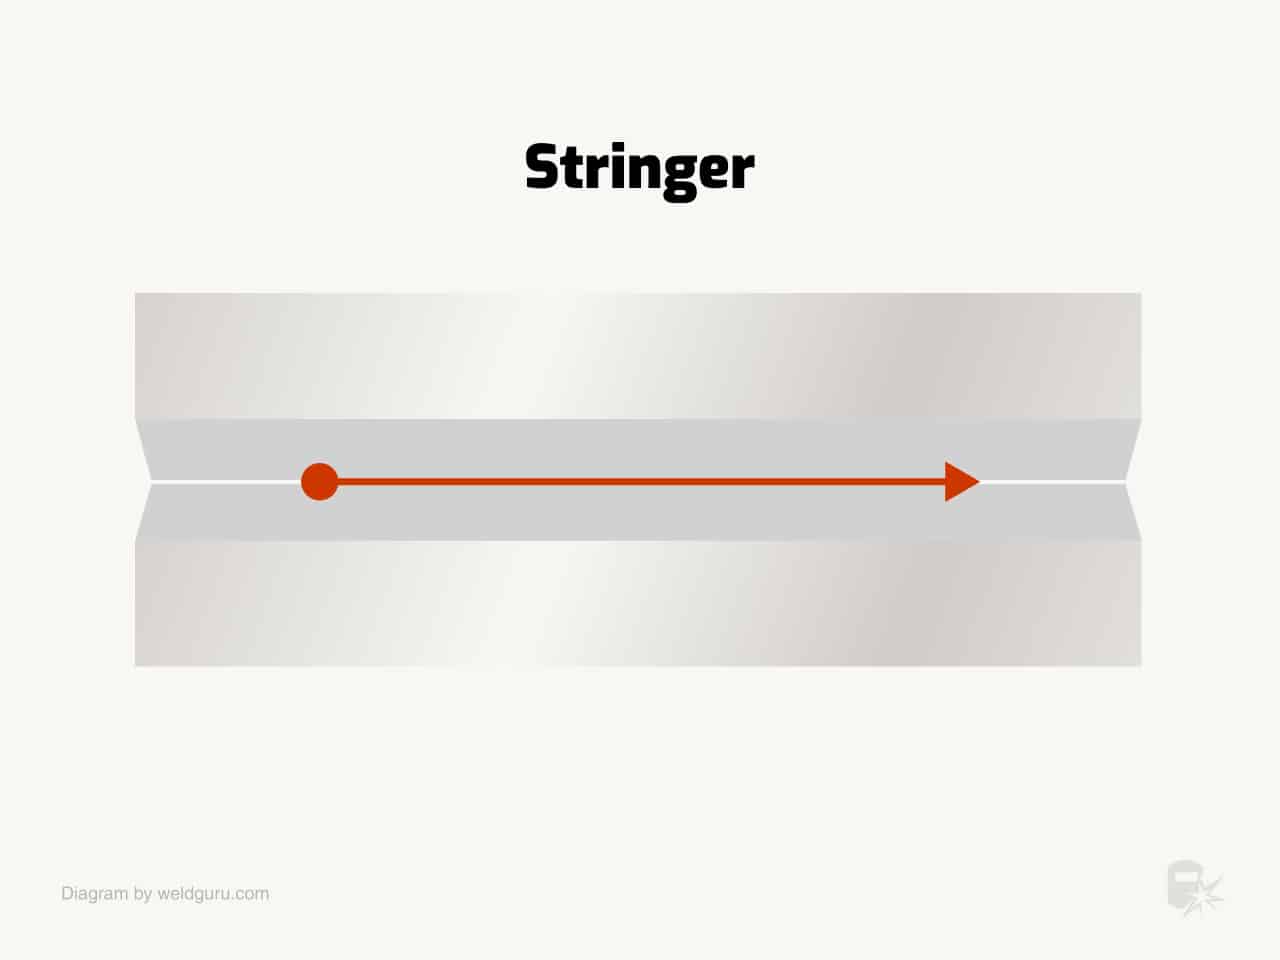
The stringer welding pattern is perfect for beginners as there is no movement other than the direction of travel.
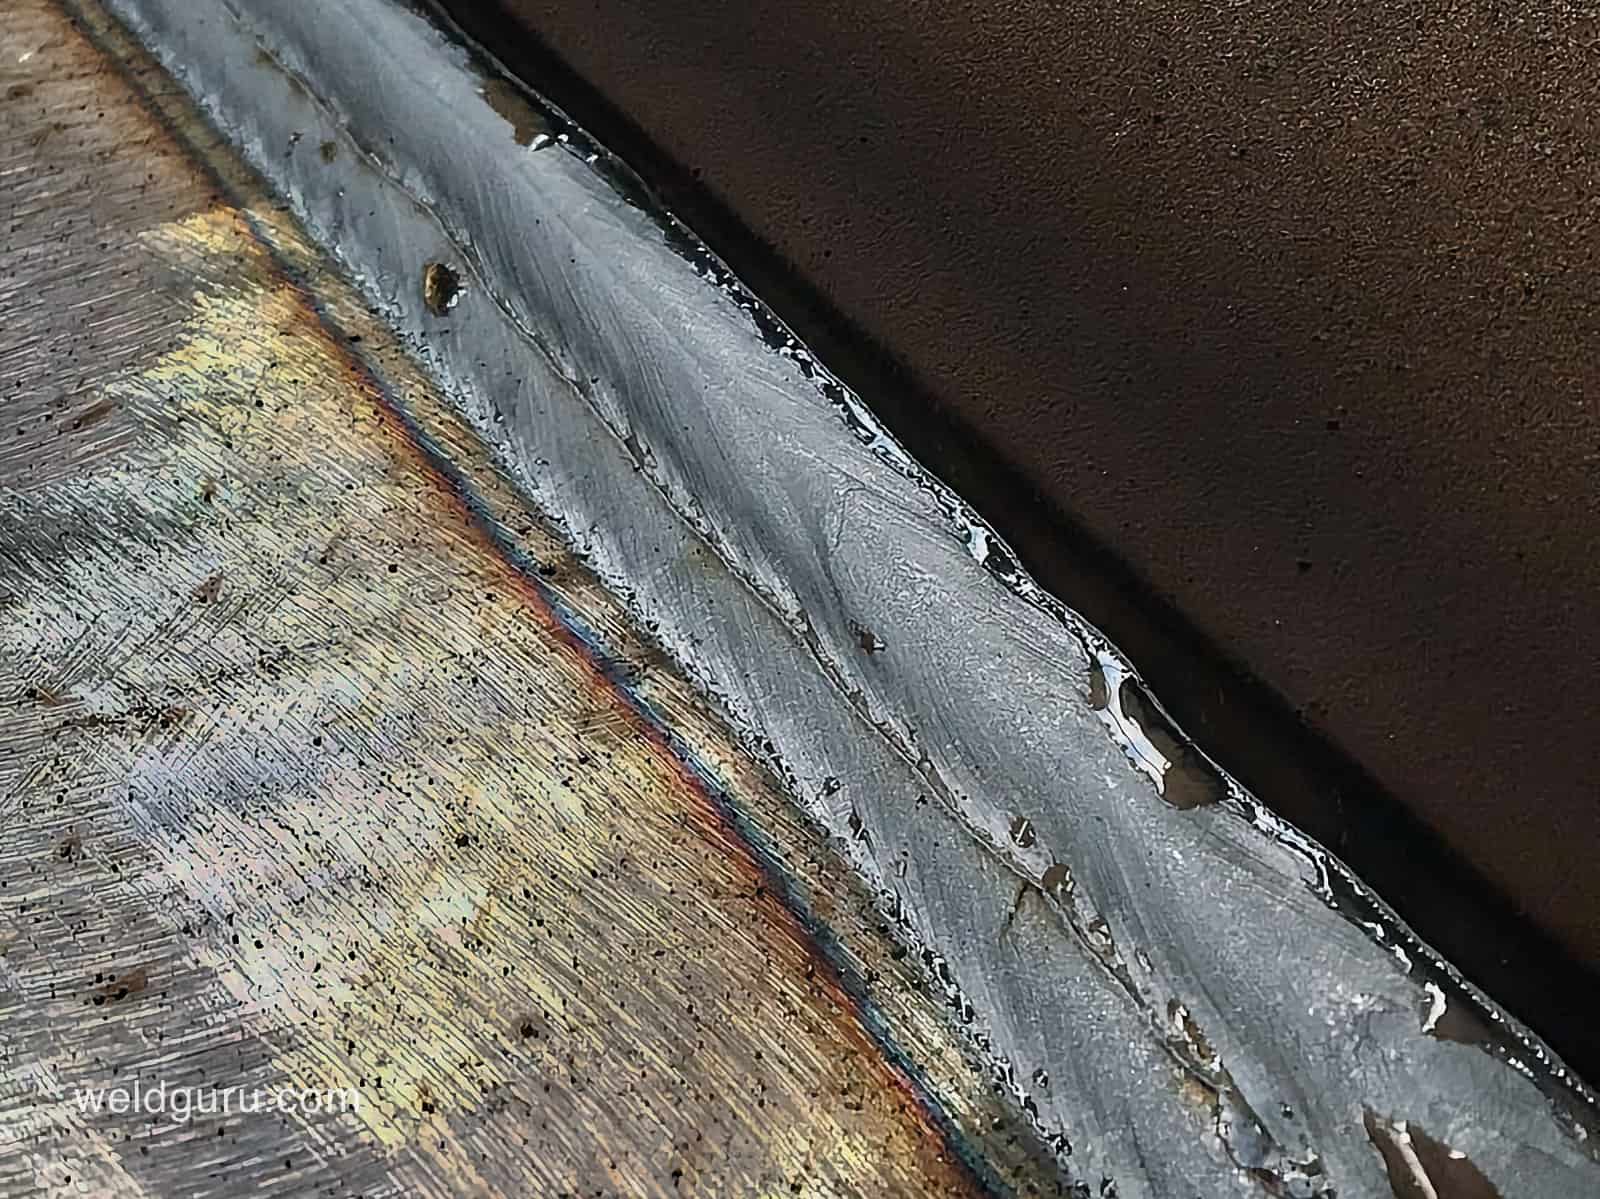
This weld won’t be the most cosmetically pleasing, but it will be structurally sound and more than fine on all your projects.
You can go from right to left or left to right, depending on your dominant hand and preferred travel direction.
You can use stringers in any position and joint type. They’re the most versatile welding pattern available for all welders, regardless of welding skills.
Ensure you set your welding machine appropriately for the joint, welding position, and material thickness you’ll use.
© weldguru.com – Image usage rights
You will point your MIG gun 90 degrees to a butt joint and 45 degrees to all other joint types. You can pull or push the direction of travel, and it’ll be between 10-20 degrees.
Now, you hit the trigger, wait for a nice fluid weld puddle to start, and then, using your wanted direction of travel, move along with no side-to-side motion.
Keep an eye on the width of your puddle and keep it consistent for the duration of the weld. Doing this will give you a nice, uniform stringer bead with no weld faults.
Pros
- Easiest weld pattern to perform
- Fastest weld pattern to perform
- Usable in any position and on any joint type
- Great for thinner materials
Cons
- Not the most cosmetically-looking weld
- Boring to perform
- Hard to hide a bad weld with it
2. The Circular MIG Welding Pattern
© weldguru.com – Image usage rights
Difficulty Level: Hard
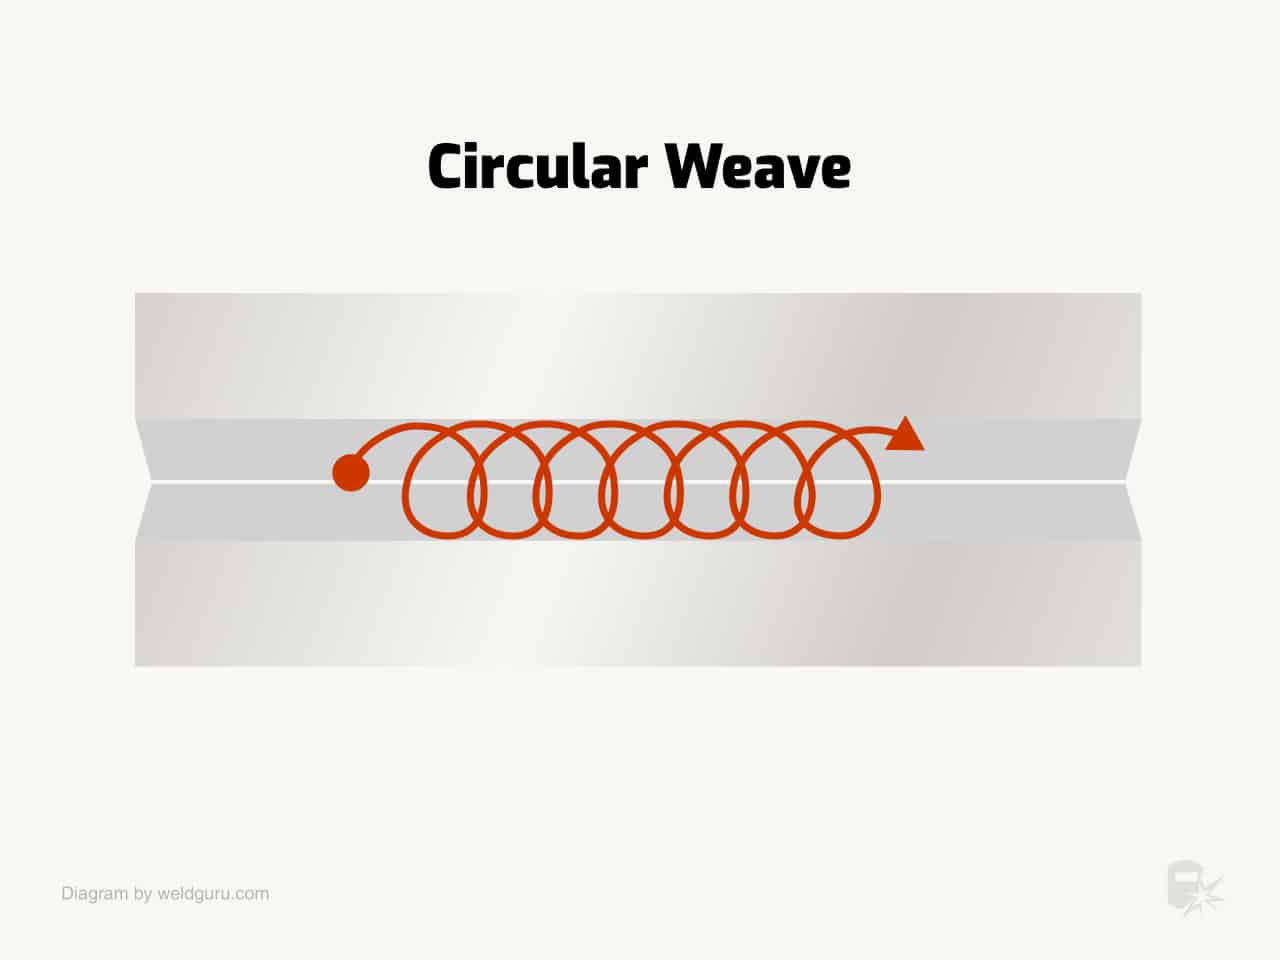
The circle welding pattern will be more difficult to perform than the stringer pattern, as there’s more movement to it, but this one will give you a more pleasing-looking weld.
The tighter you make these circles, the smoother your weld will be. So, if your weld is rough and bumpy, tighten those circles, and it’ll smooth it right up.
You can push or pull your weld with this pattern and can use it on all joint types, but it’ll be easier to use on some more than others.
The easiest joints to perform this weld pattern will be butt joints in any position except horizontal, vertical up lap joints, and vertical up corner joints.
Never use this weld pattern on any joint in the horizontal position because it’ll easily create cold laps.
A consistent travel speed will create some nice-looking welds with this pattern.
Pros
- Creates cool patterns in your weld bead
- Usable on all joint types and in most positions
- Great for thicker materials
Cons
- Not recommended for horizontal welds
- Creates a lot of heat and is bad on thin materials
- Requires a higher degree of difficulty to perform it correctly
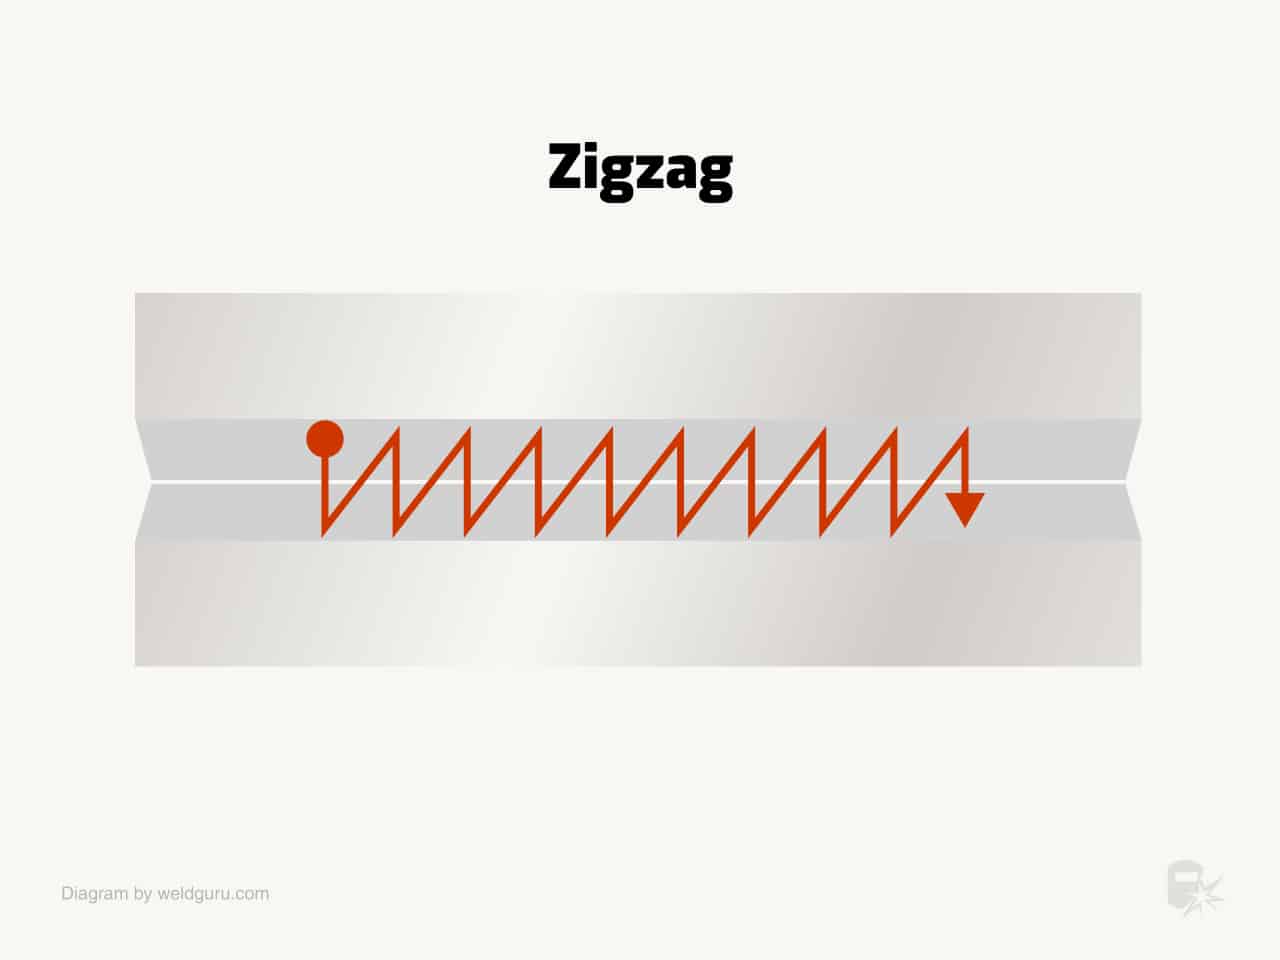
3. The Zigzag MIG Welding Pattern
© weldguru.com – Image usage rights
Difficulty Level: Moderate
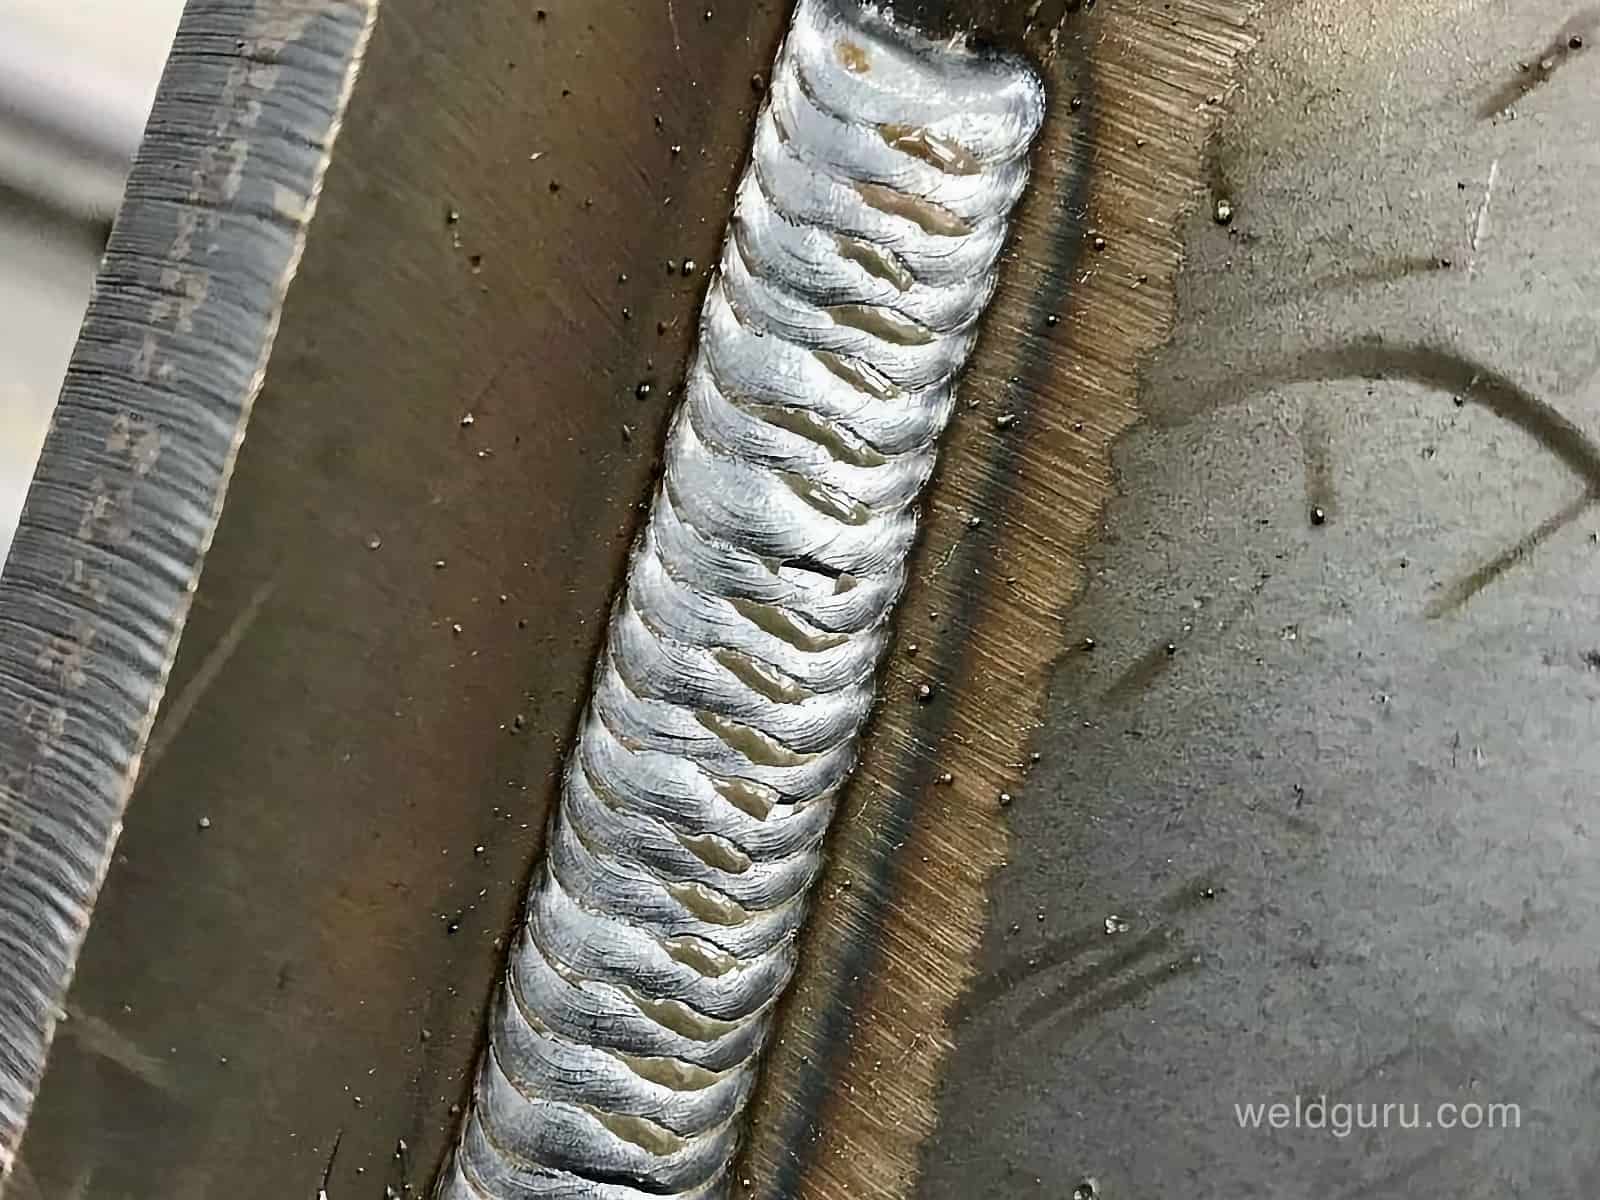
The zigzag welding pattern will be a little easier than the circle pattern and give you just as good-looking welds.
This pattern is very similar to the circle weave, but instead of making circles, you move from side to side. The trick for this one is to must spend more time on the edges than the middle of the weld.
So, you must move quickly through the center and pause on the edges. If you don’t do this, your weld will look like a speed bump with way more buildup in the center than on the edges.
When you reach the edge of the weld, watch it carefully, and you will see your electrode dig into the parent metal and fill with the consumable.
Don’t move until you see your weld puddle fill that melted edge, or you’ll have undercut.
Like the circle welding pattern, the zigzag pattern is not recommended on any horizontal joints since it’ll also create some cold laps.
The best joints and positions to use this on are vertical up butt joints, vertical up tee joints, and vertical up corner joints. You can also use it in the flat and overhead positions.
© weldguru.com – Image usage rights
Pros
- Easy to hide a bad weld with this pattern
- Usable on all joint types and in most positions
- Great for vertical up welds
Cons
- Very easy to get undercut
- Creates a lot of heat and is bad on thin materials
- Hard to accomplish with bigger consumables
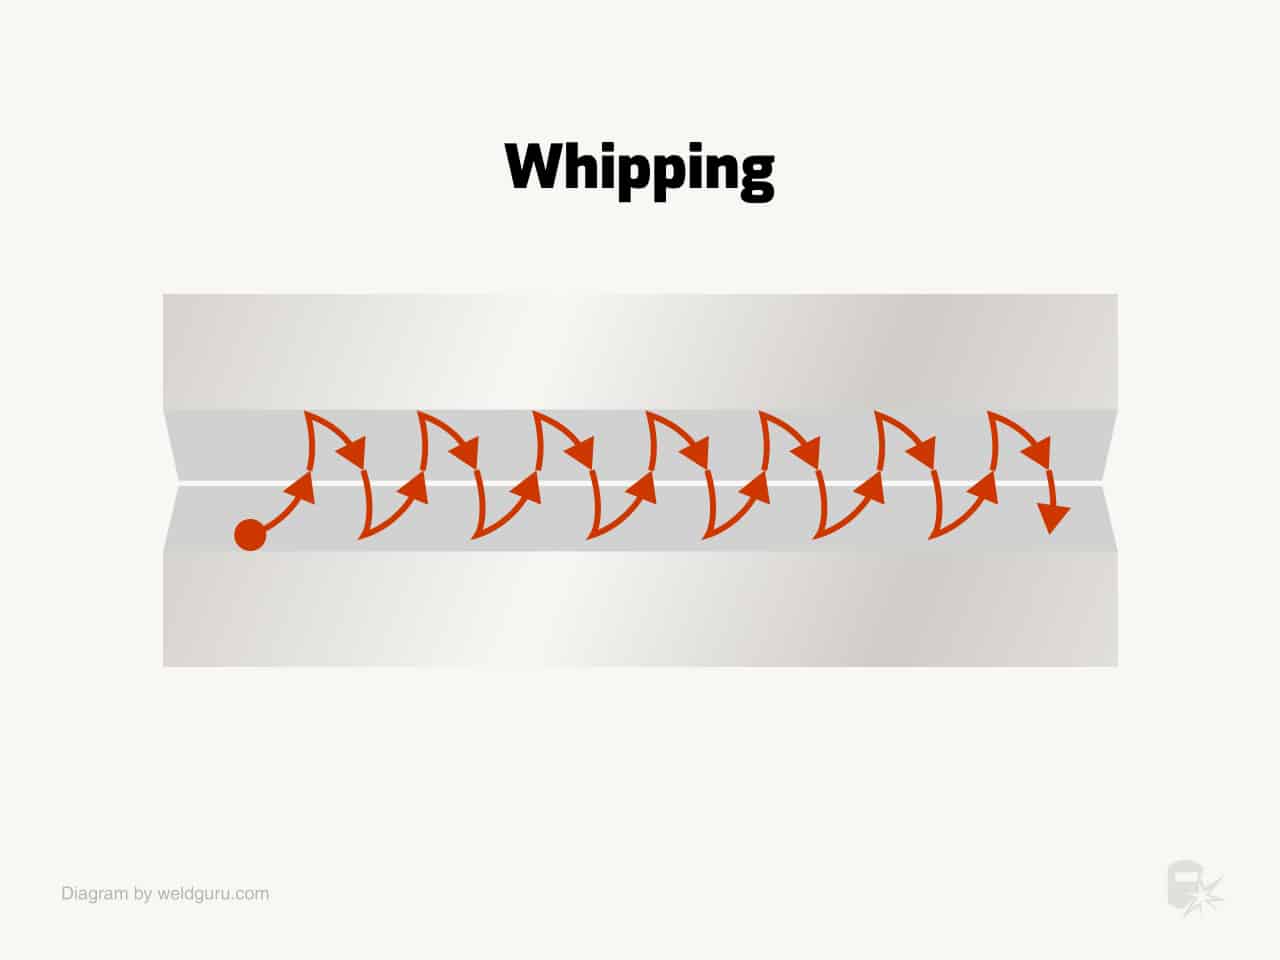
4. The Whipping MIG Welding Pattern
© weldguru.com – Image usage rights
Difficulty Level: Moderate
The whipping welding pattern is very similar to the weave welding pattern. The only real difference is that there’s a bit of a loop to it.
As per every motion welding pattern, the tighter you make this pattern, the smoother your weld will be. Like the weave pattern, you must spend more time on the edges than the center.
You never want your weld to look like a speed bump. You always want your weld to be nice, smooth, and consistent.
Like the circle and weave welding pattern, the whipping welding pattern is not recommended on any horizontal joints because it’ll also create some cold laps.
The best joints and positions to use this on are vertical up butt joints, vertical up tee joints, and vertical up corner joints. You can also use it in the flat and overhead positions.
Pros
- Easier to accomplish than the circular pattern
- Usable on thinner material with a fast travel speed
- Great for butt welds with a bigger gap
Cons
- Easy to get undercut if you don’t pause long enough on the edges
- Not usable for horizontal welds
- Slower travel speed
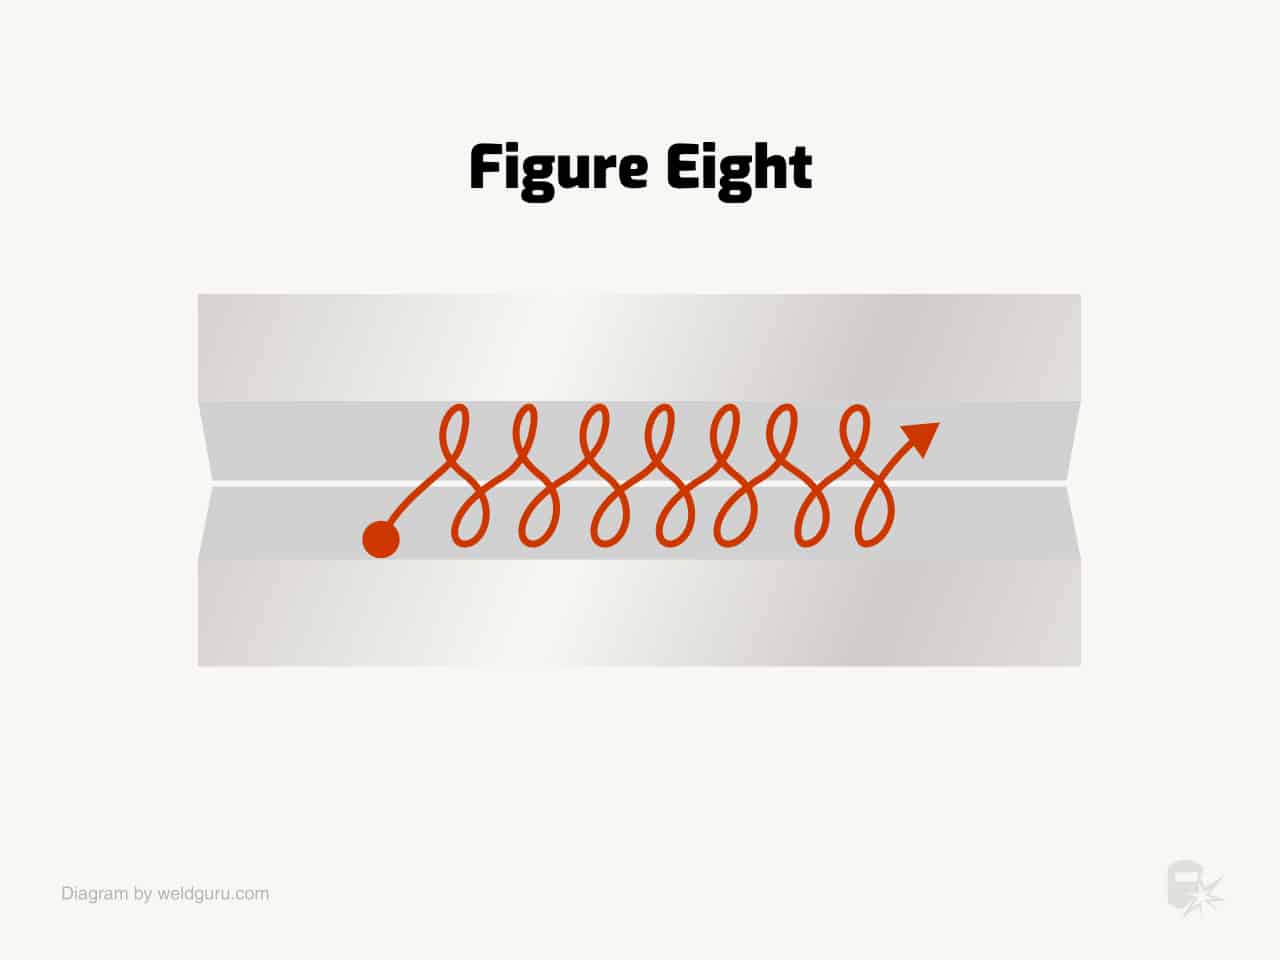
5. The Figure 8 MIG Welding Pattern
© weldguru.com – Image usage rights
Difficulty Level: Very Hard
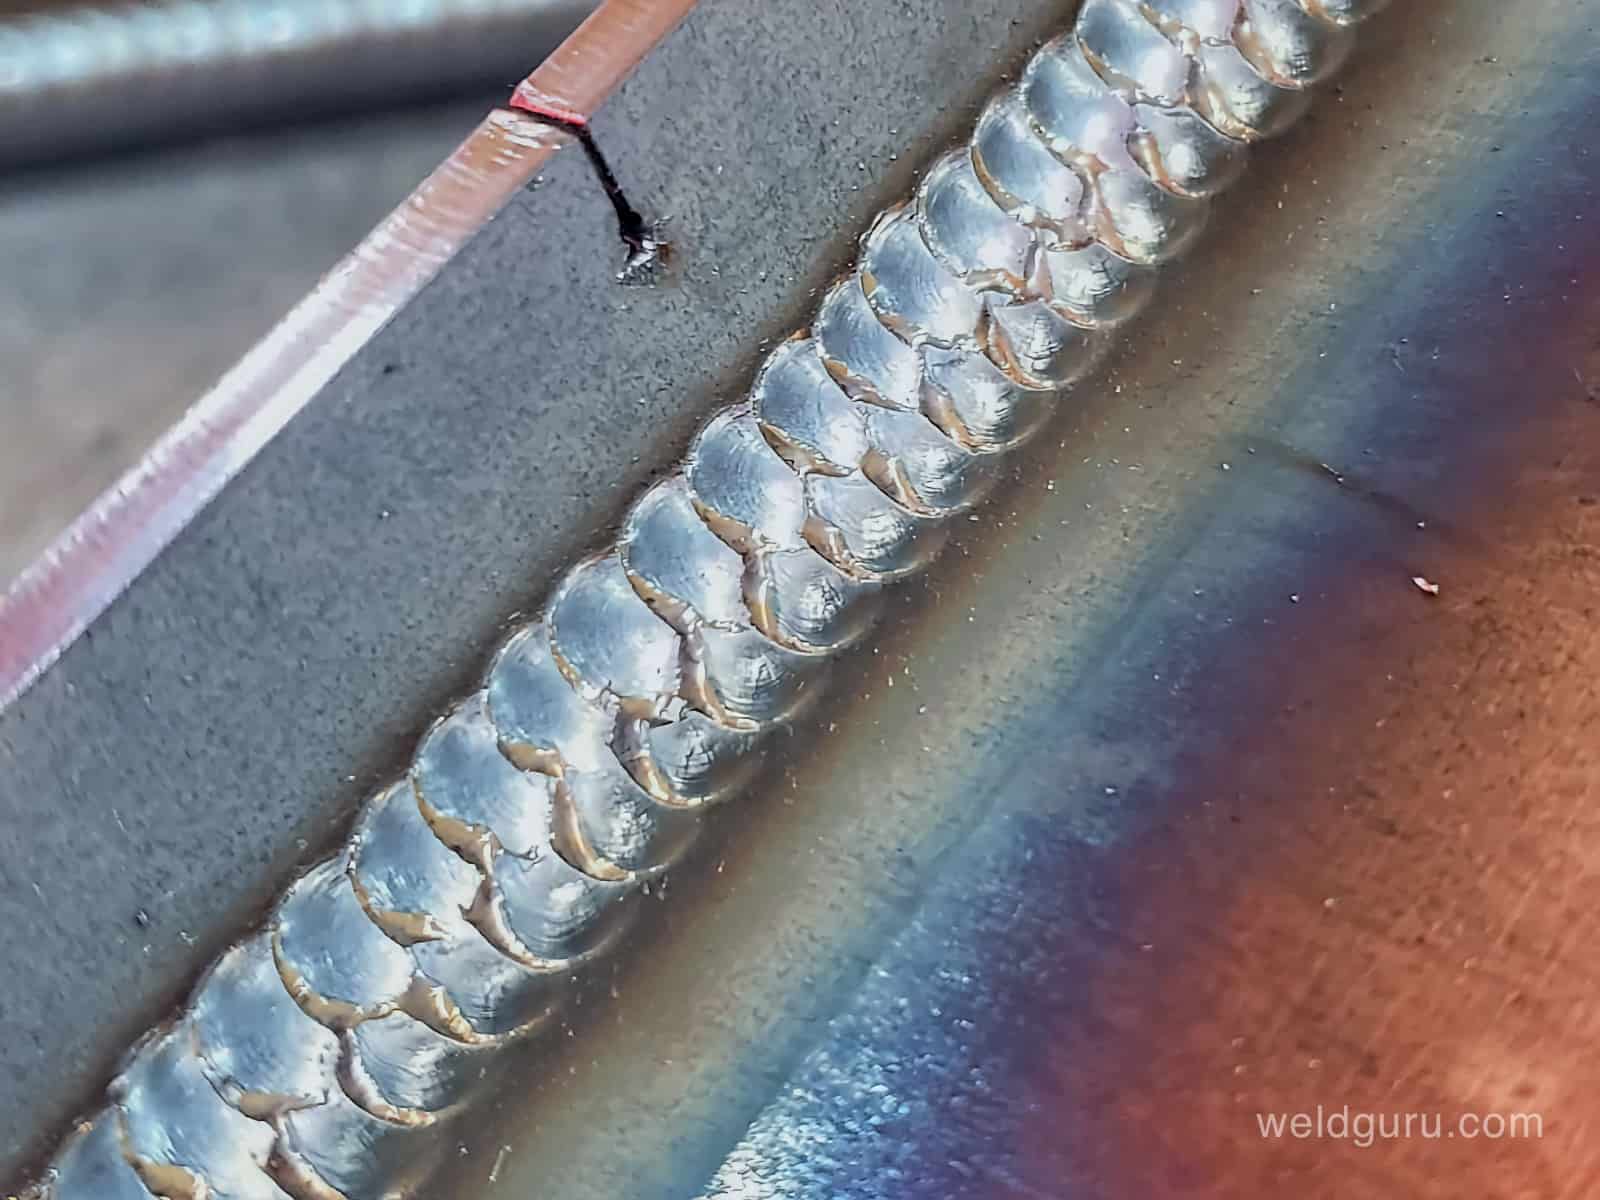
The Figure 8 pattern is pretty self-explanatory. Making tight figure 8s with your electrode will give you a nice, smooth weld with a pretty cool weld pattern.
This weld pattern has the most movement to it. Because of that, it’s very hard to perform correctly and consistently. With some practice, even the beginner welder can accomplish this weld pattern.
You can treat the figure 8 welding pattern like the circular one. Spending more time on the edges of the joint and less time in the middle will give that nice weld you’re looking for.
© weldguru.com – Image usage rights
Pros
- Gives you a very nice weld bead design
- Fun to do once you get the hang of it
- Great on thick materials
Cons
- Easy to get cold lap if you don’t tighten the pattern
- Not usable for horizontal welds
- Harder to accomplish than the circular pattern
6. The J Welding MIG Welding Pattern
© weldguru.com – Image usage rights
Difficulty Level: Moderate
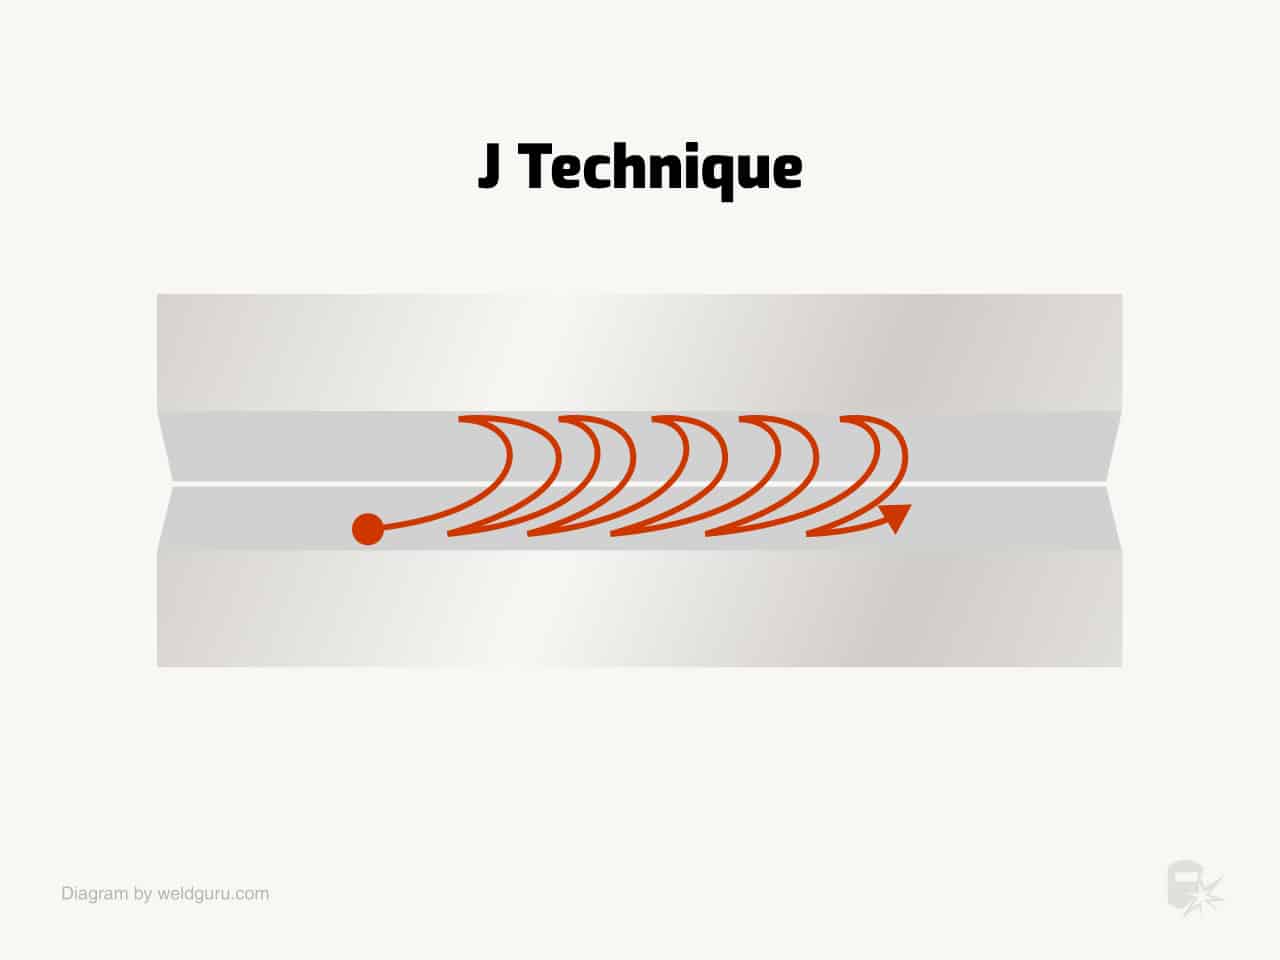
The J welding pattern, it’s just like the whipping welding pattern but with a longer loop on one side.
So, you’ll spend a bit more time on one edge of your weld joint than the other, increasing weld buildup on that side.
This pattern is especially useful when your open root is a little wider than you wanted and you need to make it a little tighter.
Pros
- Very effective on a wide weld joint
- Usable on thinner materials
- Great in open root weld joints
Cons
- Easy to get slag entrapment if your loop is too long
- Not usable for horizontal welds
- Hard to do consistently
Wrapping It Up
There are many welding patterns out there. As a welding instructor, I’ve also made some to help students with specific challenges for certain welding projects.
We design most welding patterns to prevent weld faults such as undercut and distortion. You can also use them cosmetically to improve your weld with a cool bead pattern.
As your welding skills increase, feel free to try them all and let me know which is your favorite.
If you’re new to MIG welding, make sure to read these essential MIG welding tips.
