Breaking out an extension cord for most electrical appliances is what you would usually do when the plug is too far away.
But not so fast if using an extension cord with a welder. Welders draw large amounts of current.
Use a cord made with a thin wire, and you risk fire, tripped circuit breakers, damage to your welder, and even damage to the wires, circuit breakers, and outlet supplying the current.
Whether you build or buy a welder extension cord, you must use a correctly sized wire to handle the load.
Welder Extension Cord Sizing

The size or gauge of wire needed is directly related to the voltage and amperage used by your welder, as well as the length of the extension cord.
This is so important that there are minimum-size wires dictated by building codes and all kinds of conflicting guidelines out there.
To simplify the process, I created the chart below as an easy-to-use reference.
Simply match the input amperage and voltage of your welder on the left.
Then match that to the appropriate extension cord length column, and you have the wire gauge you need to use.
Wires sizes are often specified using the American Wire Gauge (“AWG”) size.
It can be confusing at first, but the AWG size simply refers to the number of times a wire is drawn and stretched.
The more times you stretch a wire, the thinner it gets.
So keep in mind, a large AWG number means a thin wire, and a small AWG number means a thick wire.
Minimum Size Wire for Welder Extension Cords
Below is a table of the minimum wire size (AWG) you need based on your welder’s amperage and voltage. It is rated for at least 60°C and a 3% voltage drop.
| Input Power Supply | Extension Cord Length | ||||
|---|---|---|---|---|---|
| Amperage | Voltage | 25 ft. | 50 ft. | 75 ft. | 100 ft. |
| 15A | 120V | 12 AWG | 12 AWG | 10 AWG | 8 AWG |
| 20A | 120V | 10 AWG | 10 AWG | 8 AWG | 8 AWG |
| 30A | 120 / 240V | 8 AWG | 8 AWG | 8 AWG | 6 AWG |
| 40A | 240V | 6 AWG | 6 AWG | 6 AWG | 6 AWG |
| 50A | 240V | 6 AWG | 6 AWG | 6 AWG | 6 AWG |
Remember – these are minimum requirements. I would generally go with an 8 AWG cord at minimum for a 120v to eliminate any problems. A 6 AWG wire should be used for a 240v welder.
Assumptions for the Sizing Charts
The table above assumes a maximum 3% voltage drop and a wire rated to 60°C.
For safety, the next largest size wire was specified if the rated capacity was near or at the maximum. Also, if your wire is rated for higher temperatures, the amps it can pass may be higher.
These calculations assume the extension cord will power only the welder. If you try to add anything else to this power cord, the above table does not apply.
All of the recommended gauges are for copper wire only.
When evaluating the temperature rating for the wire, I made sure to build in some leeway for safety purposes.
The jacket on the wire for service applications is thicker to protect the cable. So, it also holds heat more than other wires.
Last but not least, you can use a thicker wire (lower AWG gauge number) than recommended but never use a higher AWG gauge wire.
It is assumed you understand the recommendations in the table are a minimum recommendation for wire thickness.
Pre-made vs Build Your own Welder Extension Cord
Pre-made Cords

The easiest way to get an extension cord for your welder is to buy a premade product.
You simply need to find the cord that can handle your welder’s load with the right plugs. But be wary of the stated ampacity and be sure to get an extension cord that is oil resistant.
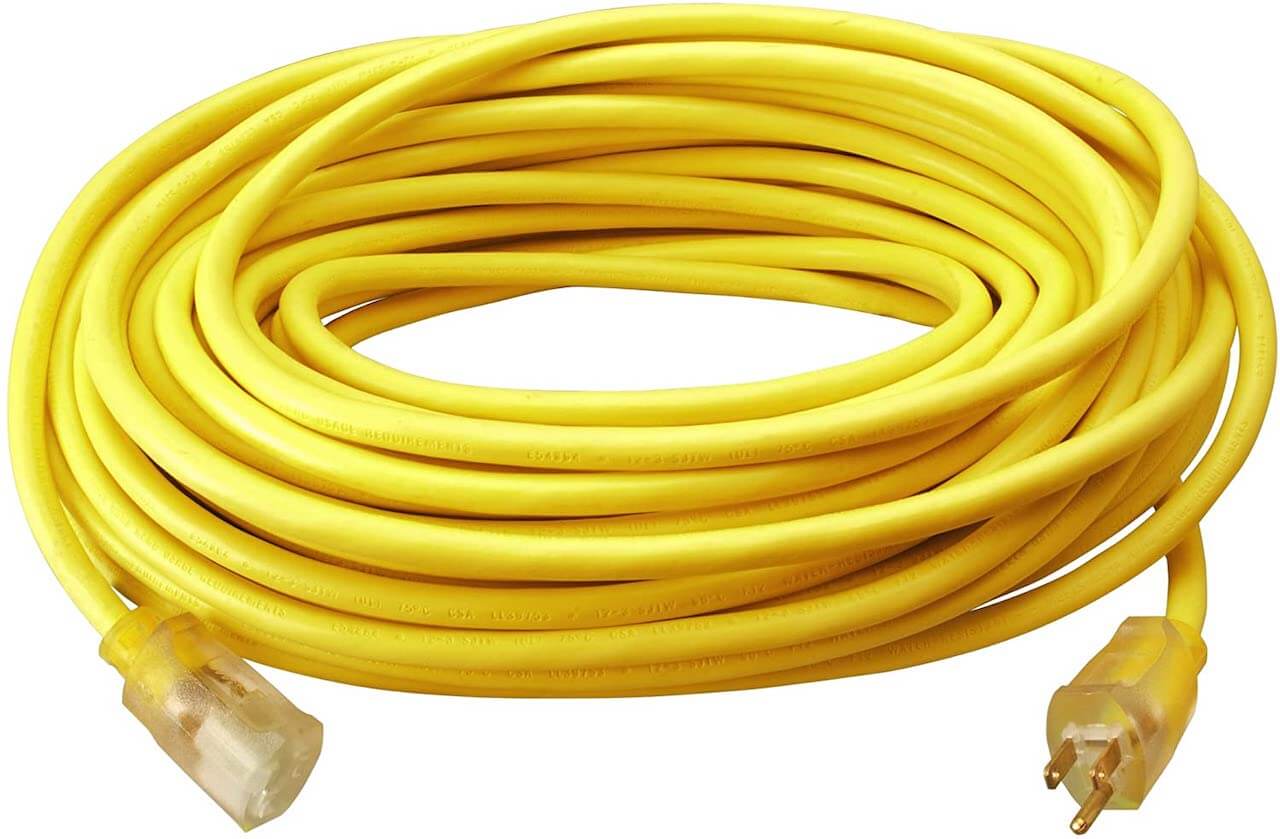
For example, this heavy duty 25-foot extension cord uses an 8 gauge wire and can handle a 50 amp load which will easily handle a 120v welder without any worries.
There are cords available in many other lengths. This 50-foot cord uses 8 gauge wire and could safely handle 30 amps on a 120 or 240 V supply.
If you want to run a 240v welder on higher amps then you will need a 5-ft cord with a 6 gauge wire to handle it.
If you need a longer cord, this 75-foot size made with 8 gauge wire carries 40amps at 240V without large voltage drops or overheating.
You can even find longer, heavy-duty extension cords like this 100 feet long one, made with 6 gauge wire, that transmits 50 amps @ 240V. It is expensive and extremely heavy, but the more amps you run, and the longer the extension cord, the higher the price.
However, if you want to save money or cannot find the perfect extension cord for your needs, you have another option – build your own.
Building your own Cord

It is not hard to make your own extension cord.
The wire and plug end you require is fairly easy to find. Plus, putting them together is something most welders are more than capable of doing.
Sizing the wire is one of the hardest parts – so think ahead.
If you plan on adding a bigger welder down the road, you may want to build your extension cord to be meaty enough to handle the future load. You can oversize the extension wire but never undersize the gauge needed.
There are some dos and don’ts…
- The first may be obvious but use as short an extension cord as possible. The longer it gets, the higher the voltage drop and heat generated.
- Use an SOOW wire. Cable with this rating is used for heavy-duty industrial applications where flexibility and durability are required.
(The SOOW designation means the wire is service cord rated to 600 volts, and the exterior jacket and interior wire insulation are oil resistant. The W on the end designates water and weather resistance.) - Never use Romex. It is a solid single-strand wire that is not intended to be rolled up frequently. Constant bending and handling break the wire, creating a shock and/or fire hazard to you. Plus, the covering is not durable enough to stand up to shop abuse and spatter.
- Finally, always build and install a grounded cable and receptacle. Never, ever use a cable or socket that is not grounded.
Wire Gauge Size & Amps – Why They Matter
In short, the wire in a welder extension cord needs to be thick enough to carry the load without causing a large voltage drop.
The National Electric Code specifies a voltage drop of no more than 5% for any “branch” in an electrical circuit.
Some wire manufacturers recommend no more than a 3% drop.
That includes extension cords “branches,” You can find voltage drop calculators on the internet that do the calculation for you.
To calculate the voltage drop with the linked calculator, be sure to use the input electrical ratings for the welder and not the output current and voltage. For “parallels,” just enter 1, unless you will use more than 1 cable to feed juice to the welder (which would be highly unusual).
An extension cord must also carry the amperage required by the welder without heating it past the temperature rating for the wire. I assumed a 60°C limit on the low end for most wires to be safe in the table above. But some wires are rated for higher temperatures.
You can reference ampacity charts on your own to size a wire so that the operating temperature will not exceed the thermal rating. As with the voltage calculator, be sure to use the input amps and not the output ratings for the welder when using the ampacity chart.
So, the wire gauge directly relates to the wire’s ability to handle the amperage flowing without overheating, with a 3% or less voltage drop. That means your circuit breaker won’t pop every 10 minutes, and your welder will be able to operate at its full potential safely.
Use too high a gauge wire (i.e., too thin), and it will likely be nothing but an annoyance and could even bring disaster to your shop.
Wrapping it Up
Whether you use a pre-bought welder extension cord or build your own, you need to have the right gauge wire. It will keep you safe and prevent damage to your equipment and shop.
The wire gauge needed is best determined by the voltage and amount of current your welder draws (i.e., input power) and the length of the extension cord.
There are many ways to figure out the wire gauge you need, including asking in online forums. But the table in this article can be used as a quick reference if you are nervous doing the calculations or you do not want to wade through a wide range of advice in a forum.
