Yes, aluminum can be stick welded. It is more complex than stick welding steel, and the finished joint appearance may be less artistic. You need the proper electrode, the correct settings, a fair amount of experience, and suitable expectations.
Because it is more challenging and less attractive, some say stick welding aluminum is not possible or not worth the effort.
But they are defeatists and just wrong.
So, let’s explore this topic closer, and we should start with a review of why welding aluminum is different and more demanding.
Problems Stick Welding Aluminum
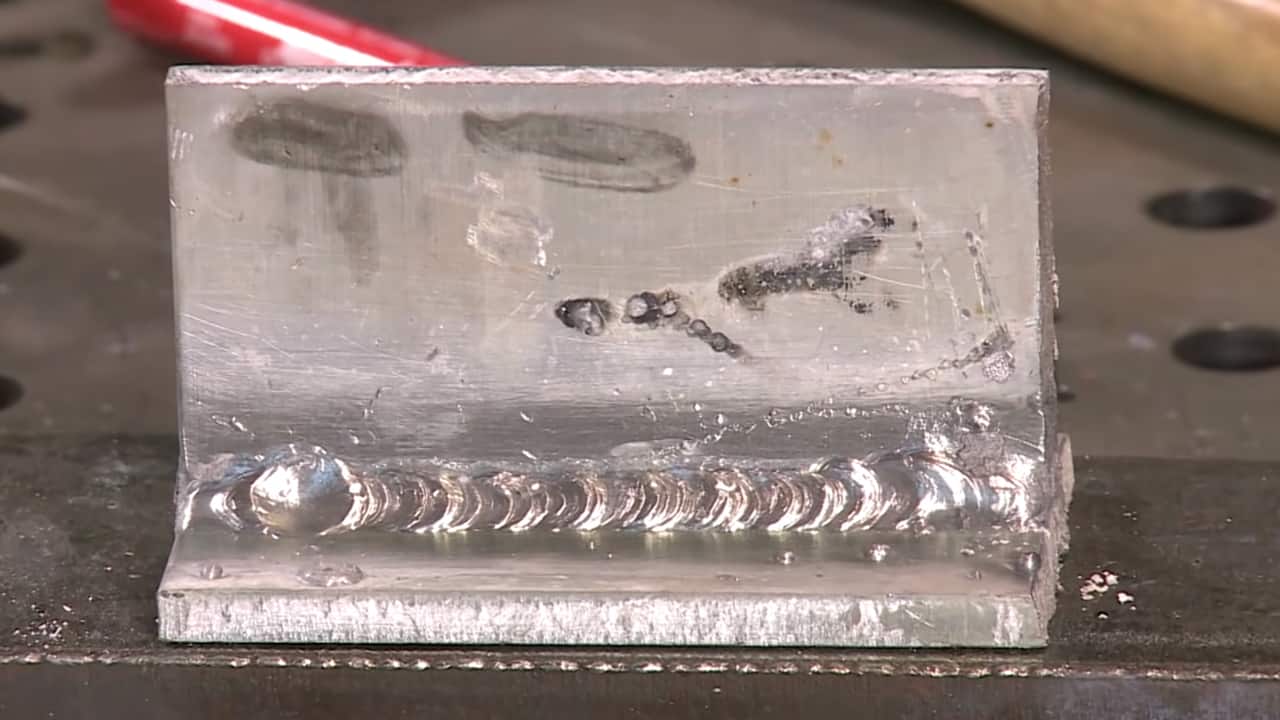
Many issues with welding aluminum involve its high thermal conductivity and low melting point.
Add the problems presented by the chemical composition, and we have numerous issues unique to aluminum that must be addressed.
Welder Power
The first of these problems involves your stick welder’s power.
Since aluminum conducts heat so well, heat wicks away from the joint very fast into the surrounding aluminum. So, you need to put more heat into the weld pool even though the melting point is lower.
Also…
You must have the ability to vary your amperage output on your stick welder to get the heat just right.
It must go ‘high” enough to supply the required heat. You will need more power to weld aluminum than steel of the same thickness.
Related: Can You Weld Aluminum To Steel?
You Need a Short Arc
Another issue involves the low melting point of aluminum.
Because the heat wicks away from the joint so quickly, it is hard to get the temperature in the weld pool just right.
The puddle sets faster than usual because of aluminum’s incredibly efficient thermal conductivity. That means you must keep a short arc and move it more quickly than expected.
The required short arc creates another problem when welding aluminum…
Your stick can “freeze” in the puddle. It takes some practice to avoid fusing your stick electrode into the quickly cooling puddle and get the faster motion needed just right.
Rough Appearance
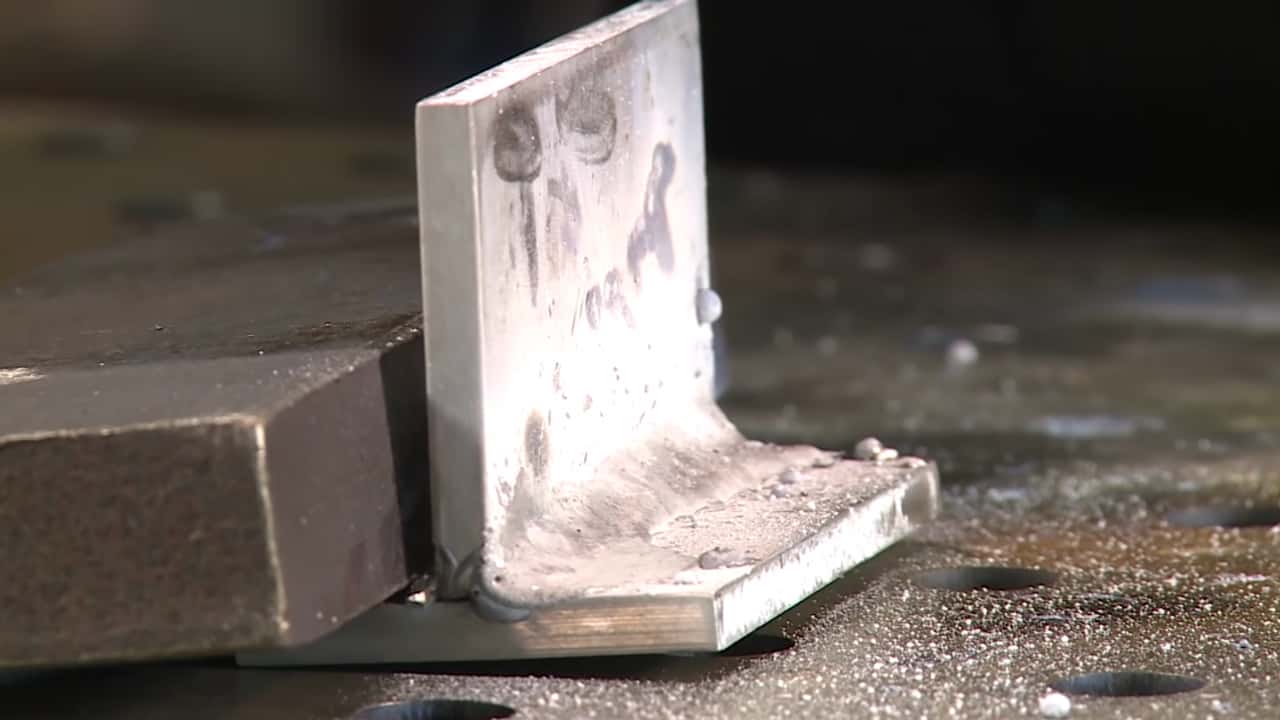
Many users rank appearance as one of the more critical “problems” or issues.
When you stick weld aluminum, you usually use direct current electrode positive (“DCEP”) or reverse polarity, and that causes the flux to spatter more than usual.
But spatter is just one of the aesthetic issues. The short, fast-moving arc can be erratic and usually produces a bead the opposite of stacked dimes.
Even with lots of experience, the short, fast-moving arc can create some less than attractive beads.
Also, magnesium oxide discolors a joint.
This happens mainly because the wrong filler material is used. So, the choice of an electrode is critical when welding aluminum. (More on this later.)
Warping and Burn-throughs
Because the amount of heat pumped into the metal can be high, the warping of thinner pieces can be an issue.
Also, it is not uncommon with thinner stock to burn through the metal or even melt away large joint sections.
Getting the heat in the weld pool just right takes some practice, and even experienced welders will burn through thin aluminum from time to time.
Cracking
The thermal conductivity and alloy composition of aluminum can also cause cracking.
Hot and cold cracking are constant concerns, and the choice of good filler material is vital.
Welders will often preheat aluminum using an acetylene torch to “even out” the thermal expansion and contraction experienced by the metal as it is welded, which also helps prevent warping.
But preheating also helps slow the heat “wicking” problem, which allows a puddle to form and penetrate, and it flows better and produces a stronger weld with less porosity.
Special Electrodes
Another “problem” with stick welding aluminum has to do with storing the special electrodes you need to use.
The aluminum electrodes are coated with a special flux that is very sensitive to moisture.
You must keep these aluminum electrodes in a dry, protected place, or they go bad fast. So, getting and maintaining “fresh” electrodes can be a challenge.
Also, it is worth mentioning that aluminum stick electrodes are pricey. So, if you are looking for a cheap repair, stick welding may not be as economical as you think.
Surface Preparation is Important
If this list was not long enough already, there is one last issue with aluminum we must mention…
This metal forms a unique aluminum oxide layer on the surface when exposed to air.
It protects the aluminum and keeps it from rusting, so it is beneficial. But it also makes bonding anything to it hard.
For this reason, cleaning an aluminum joint properly before welding is paramount.
Best Processes to Weld Aluminum
For a quick repair out in the field, stick welding can be a simple, fast method to get the job done.
But it is not the “best” way to weld aluminum.
MIG and TIG welders produce better-looking, “cleaner” welds with aluminum.
You have better control over the heat for thinner stock, which helps prevent warping, cracking, and burn-throughs.
MIG Welding Aluminum
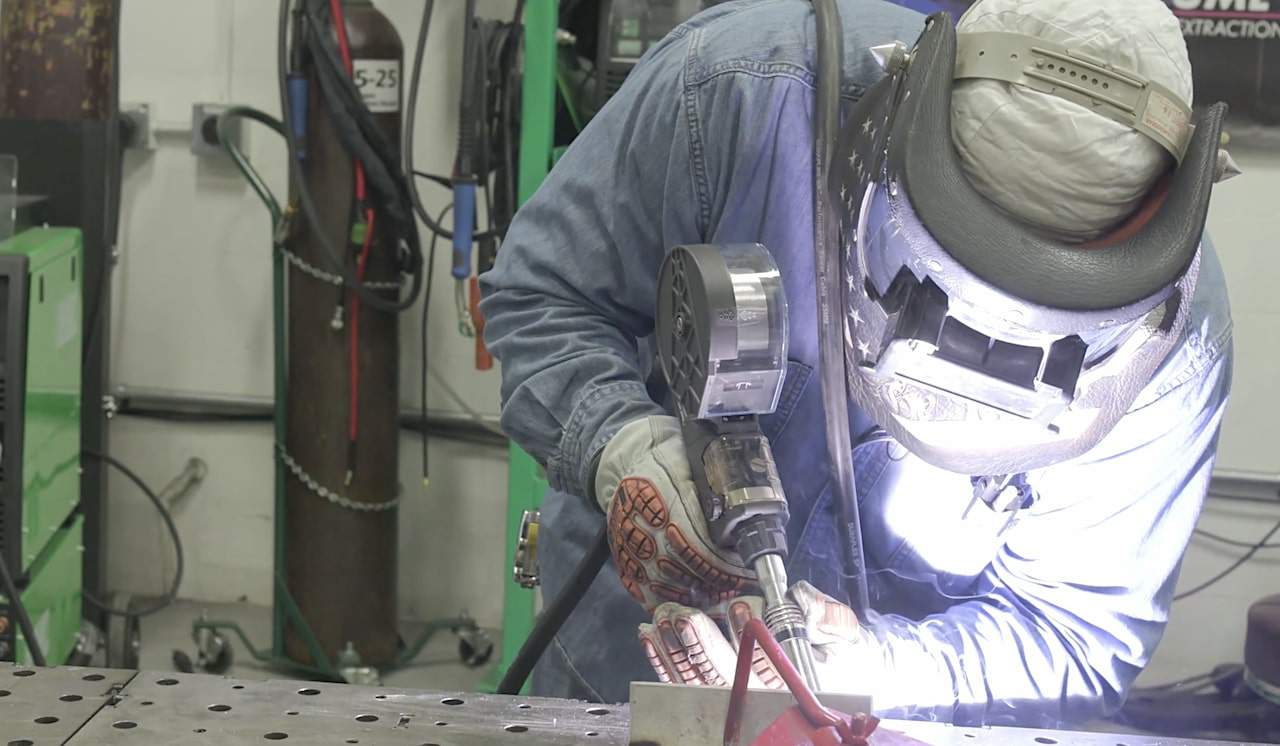
MIG welders require using aluminum wire. This soft, easily bent wire is difficult to push through a MIG torch lead without tangling or bird nests.
For this reason, many will opt to use a spool gun, which is a more reliable way to supply an aluminum wire to the weld as filler material.
Another thing to keep in mind when MIG welding, you need a shielding gas. (There are no flux-cored aluminum wires on the market.)
This is not an issue in the shop, but out in the field, it can be difficult to drag a big, heavy bottle of gas around with your welder. A bottle of gas is not needed when stick welding.
Read more: MIG Welding Aluminum – Beginners Guide
TIG Welding Aluminum
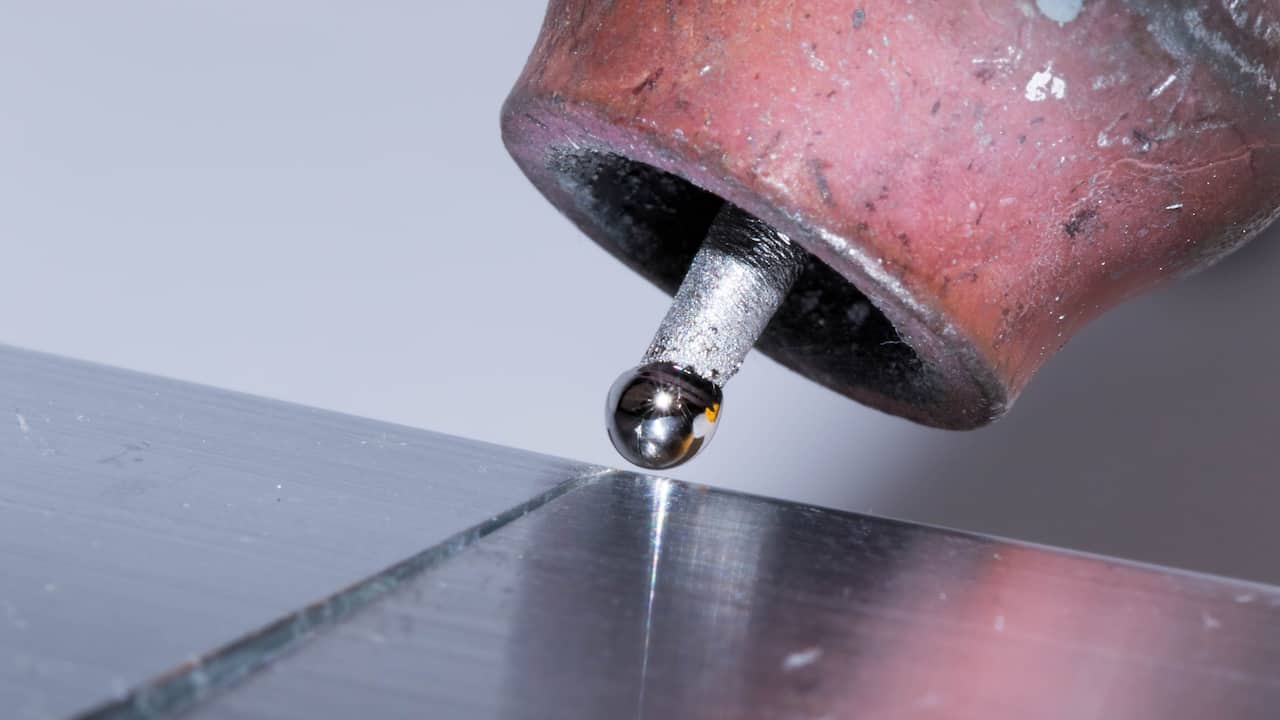
TIG welders produce the best-looking welds on aluminum. If you want those professional stacked dimes, this is the process to use.
But TIG welders also need shielding gas, and they are fussier to use than a stick welder. You must use both hands, and TIG is slower than stick.
So with both MIG and TIG welders, you do get nicer-looking beads. But because they use shielding gas, both are not good choices outdoors in the wind.
While I would prefer to use MIG or TIG over a stick welder for aluminum, stick welders are not as impacted by low to moderate wind in the field.
Plus, a stick welder is easier to learn and use.
So, While MIG and TIG welders are better choices for aluminum in many situations, stick welding of aluminum does have its uses.
How To Weld Aluminum With a Stick Welder
Stick welding aluminum follows most of the basic stick welding “rules.”
But there are some points unique to stick welding aluminum, and they are worth reviewing.
1. Check Your Stick Welder
Stick welding aluminum starts by checking your welder’s output capabilities.
It should have a variable amperage output to allow you to adjust your heat. You will want to be able to change your amp output for the aluminum thickness and the diameter of the electrode being used.
Also, your welder should be able to put enough amps for the high end of the electrode being used (consult the electrode manufacturer’s specifications).
2. Choose the Right Electrode
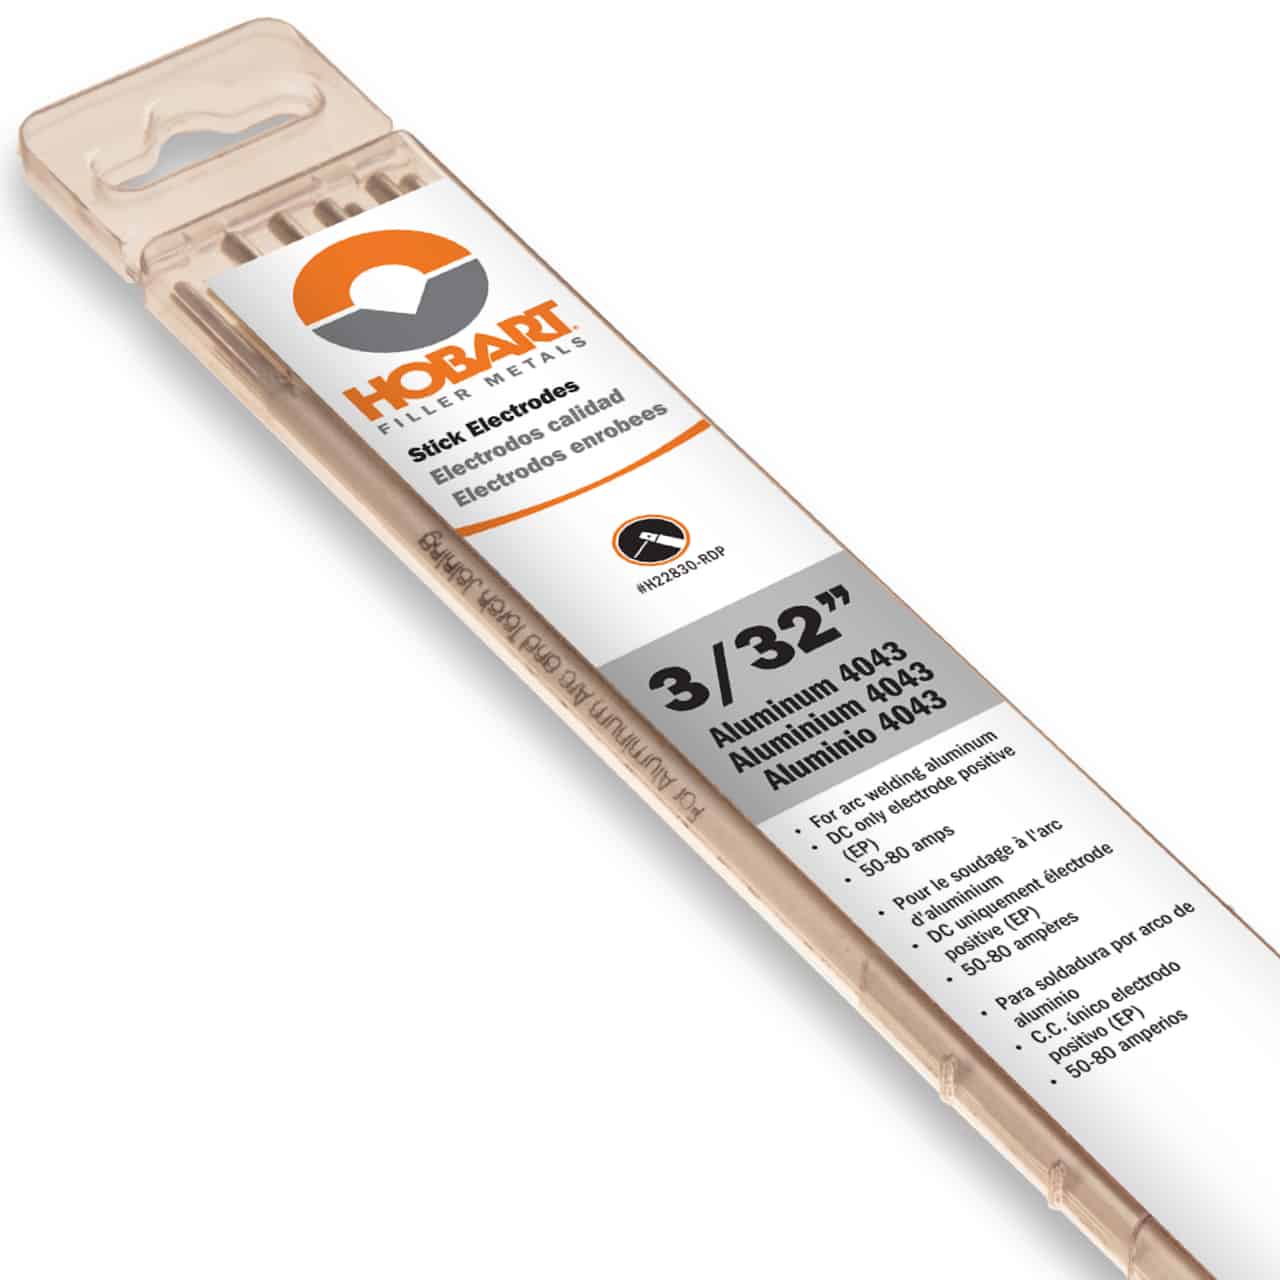
The electrode used is critical.
A 4043 electrode is common (like these), but there are other choices depending on the aluminum alloy you are welding.
A 3/32 in. electrode needs 50 – 80 amps, a 1/8 in. needs 80 – 130 amps, and a 5/32 in. electrode needs 100 – 160 amps.
Also, be sure you have enough electrodes. You will need more than you think, and plan on changing electrodes often as you work. They burn up fast.
3. Check the Aluminum Thickness
Stick welding aluminum works well on thicker material. But with thinner material, it becomes hit or miss.
Some say they can only go down to 1/4 in. thick, but others find you can go as thin as 1/8 in. thick.
If you want to go thinner, I suggest you try some test welds to determine if you can weld the thing stock.
4. prepare the Surface
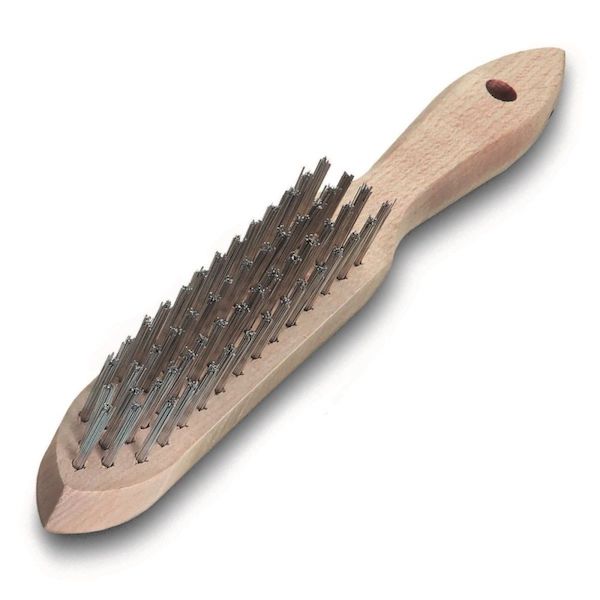
You must remove the protective aluminum oxide layer to allow strong bonding of the joint pieces.
Stainless steel wire brushes are common, but a grinder is not recommended.
Grinders tend to just “fold” the oxide layer into the aluminum, which does not help.
So, a stainless steel wire brush, light sanding, or chemical cleaning methods work best.
5. Fit-Up Properly
Fit up your pieces well to prevent significant gaps that will require excess filler.
Stick welding aluminum is hard enough without adding more challenges.
6. Welder Settings
The amps you use need to match your chosen electrode (see the electrode selection section above for recommended starting amp settings).
Every electrode manufacturer lists the recommended amps for their aluminum electrodes.
Also, most electrodes require a direct current electrode positive (“DCEP”) setup.
Be sure to double-check your polarity and set it correctly for the electrode you are using.
If you go to the stick electrode “calculators” online, you will find that aluminum stick welding is not popular.
Aluminum is not included in any of these calculators or charts. So, you must use the range given for the electrode as a starting point. Then tweak your amp setting to get the suitable penetration for the welded thickness.
7. Get the Right Arc Movement
Arc movement can be a personal issue for some.
Many say to weave the tip, and it is best to do some trial runs to determine what works best for you. But in general, you must move fast, faster than the usual steel weld.
Some find this hard to get right. But if you move too slow, you can burn through the workpiece.
Move too fast, and you do not get the proper penetration, resulting in a weak weld.
Also, you need to keep a short arc.
Welders new to stick welding aluminum find this odd, as you must keep the tip close enough to feel the flux on the electrode “dragging” along the weld.
It takes practice to master, so plan on doing some practice welds. You need to walk a thin line where you are almost fusing the electrode into the puddle without getting close enough to the metal to fuse the tip in the weld pool.
8. Use the Correct Angle
The angle of the electrode can be a personal matter, but it should not be too steep.
Also, you need to tip the electrode so that the angle is toward your endpoint.
9. End of the Weld
Craters are a problem at the end of aluminum stick welds. Don’t just run off at the end of your weld.
Take the time at the end of the weld to backtrack a bit and fill your termination point.
If you get one or two craters near the end of your weld, you will need to touch up your work and go back to fill these craters.
The craters can be starting points for cracks to form that then run down the entire length of the weld.
10. Clean-up
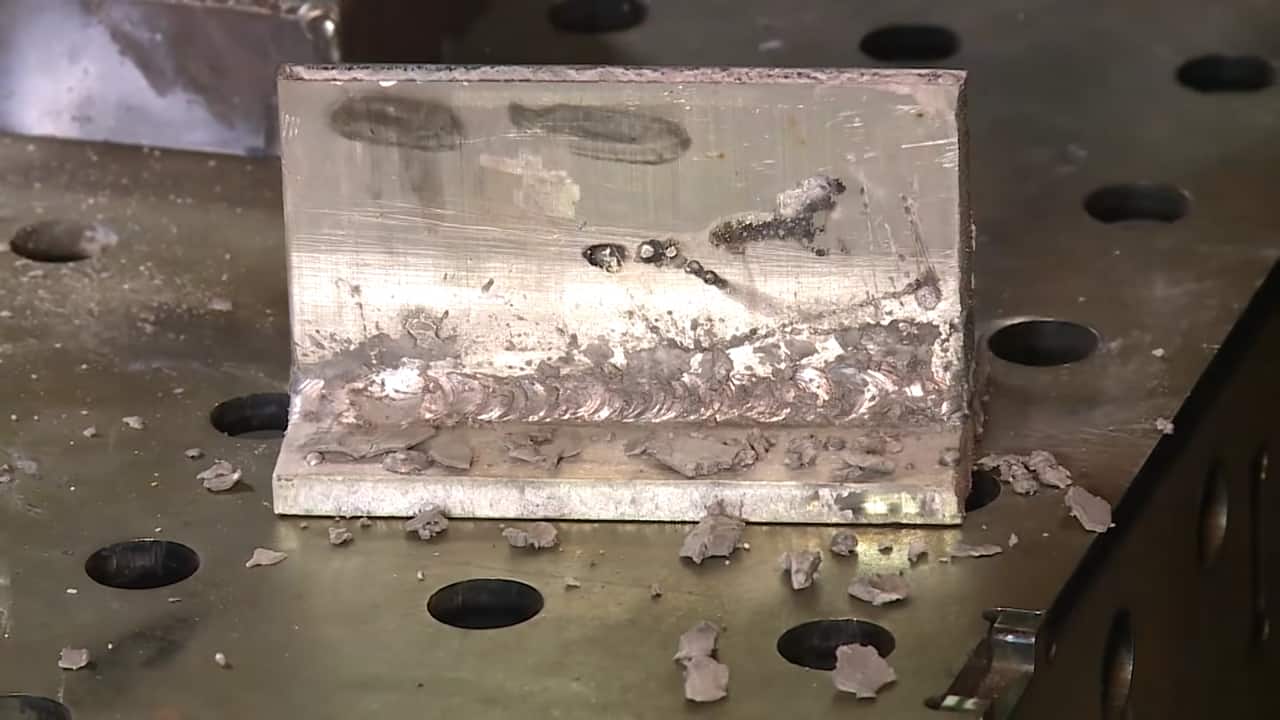
Be prepared for some clean-up work. Stick welded aluminum gets a fair amount of spatter you need to clean.
Not to state the obvious, but you also need to clean the slag.
You will find that the slag from aluminum stick welds is particularly difficult to remove. So, be prepared.
Need more tips? Check out these 14 stick welding tips and techniques to improve your welds.
