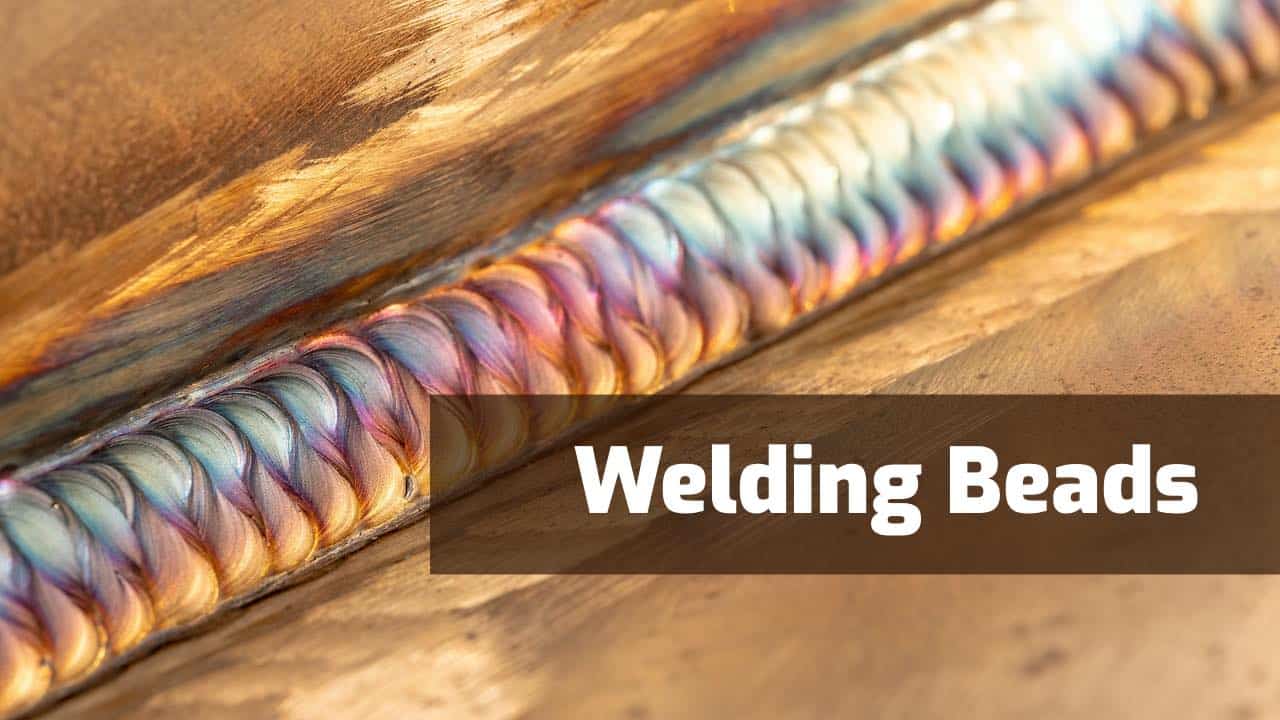
What Is A Weld Bead?
A weld bead is created by depositing a filler material into a joint between two pieces of metal.
As you melt a filler material into the workpiece, how you move the torch will impact how you advance the puddle and the type of bead you leave in the joint.
Why Use Different Torch Movements?
Like sewing a seam in cloth, there are several ways to run a weld bead along a metal joint. Yet unlike tailors, welders frequently need to perform their work in an awkward position while wearing a face shield and gloves.
Gravity also plays a role in how molten metal gets deposited between metal plates or pipe sections. For instance, if you’re welding overhead, you need to move fast. If you don’t, the molten metal will end up dripping on your face shield instead of filling the joint.
So, after preparing a joint for welding, selecting the appropriate filler material (e.g., stick, rod, wire, etc.), and choosing the right machine settings, a welder must also use a specific hand stroke and move the puddle at the right speed to get the bead down properly.
[welder101]
Types of Weld Beads & Torch Movements
Generally speaking, torch manipulation is much the same whether you’re feeding the weld pool with a separate filler rod, a mechanically fed wire, or a stick electrode. But there are some techniques used mostly with one process.
The four most common torch manipulation techniques used to create weld beads are:
Main welding bead techniques:
- Stringer beads
- Weave beads
Process specific techniques:
- Whip motion (Stick)
- Walking the cup (TIG)
Stringer Beads
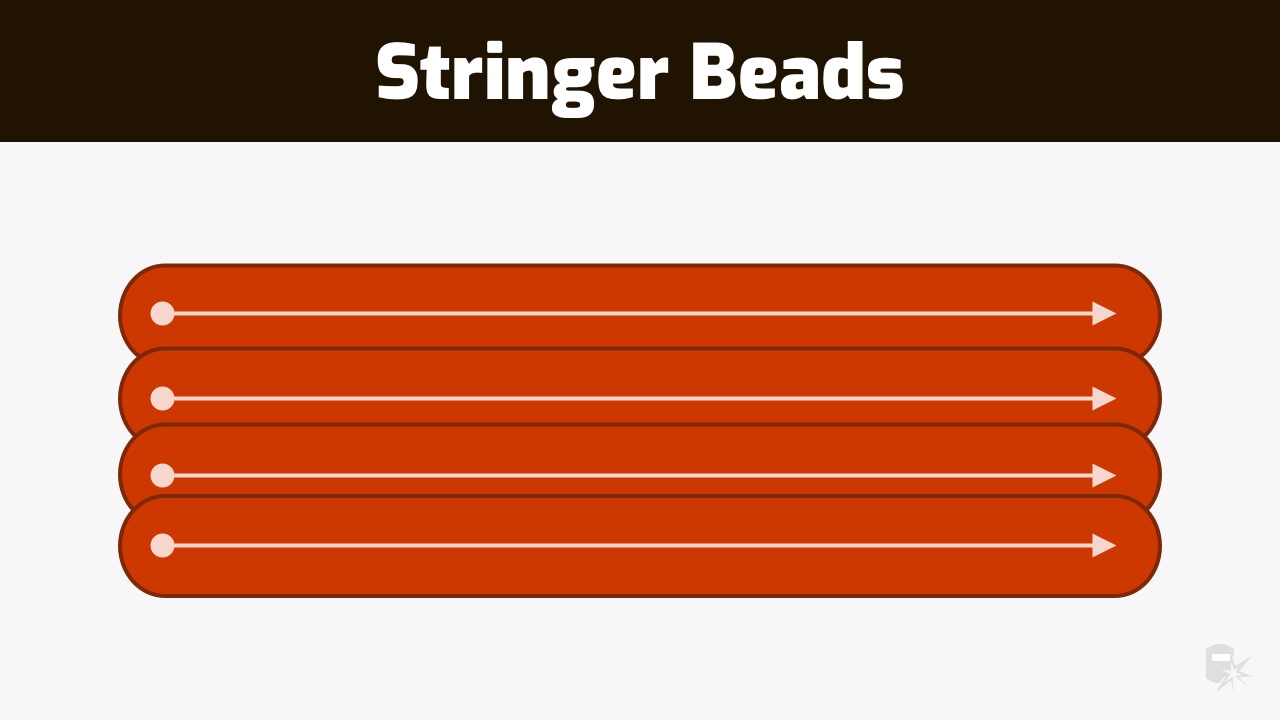
A stringer bead is a straightforward procedure in which you either pull (i.e., “drag”) or push the torch across the joint in a straight line with no or minimal side-to-side movement.
Dragging means the electrode is angled in the “forward” welding direction, leading the puddle. This enables maximum penetration and a robust-looking weld.
For heat-sensitive or thin metals, or when welding vertically, welders “push” the tip of the torch. This requires leaning your torch away from the puddle, and you follow it as you weld.
When welding up on a vertical joint, the molten metal wants to fall downward. But pushing the weld keeps the heat away from the puddle and allows the weld to solidify quickly.
One of the major drawbacks to pushing is that you get less penetration into the base metal than pulling (“dragging”) the molten puddle.
Stringer beads are generally not very wide and can be used in any welding position.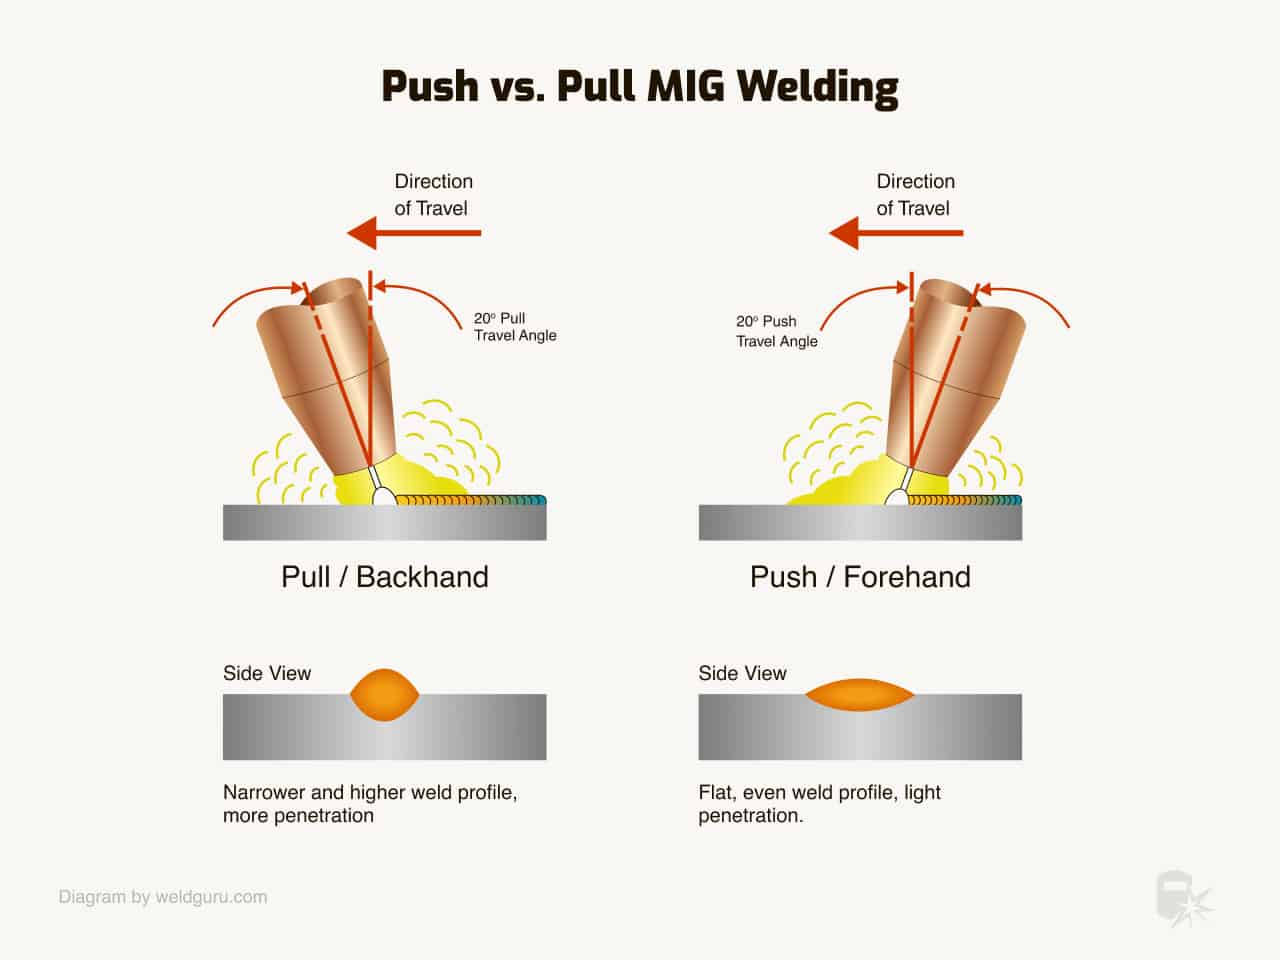
Related read: What are the main welding positions?
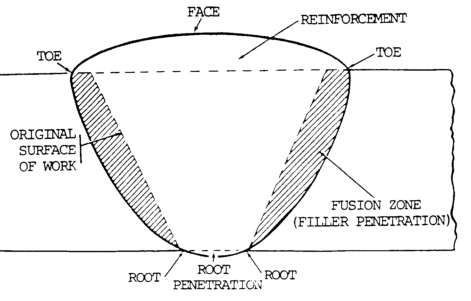
Even though you’re moving in a straight line, it’s still important to make sure you get “tie in” with the toe of the weld on either side of the joint. Remember, the object of welding is not just to fill a joint with new metal. It’s critical to get fusion between the weld and the base metal.
Sometimes, moving the torch slow enough allows the weld puddle to flow over both sides of the joint. This may be all it takes to achieve good fusion. Other times a slight side-to-side manipulation is necessary, as illustrated below.
Again, keep the side-to-side manipulation slight. If you move too far from side to side, you will create a weave bead. (See the next section below.)
Stringer beads are also used in hardfacing. This is a surfacing operation that helps extend the life of scoops, fenders, plows, and other exterior metal parts on industrial equipment. In this instance, the beads are not meant to fuse with the base metal but to create a protective layer.
Weave Beads
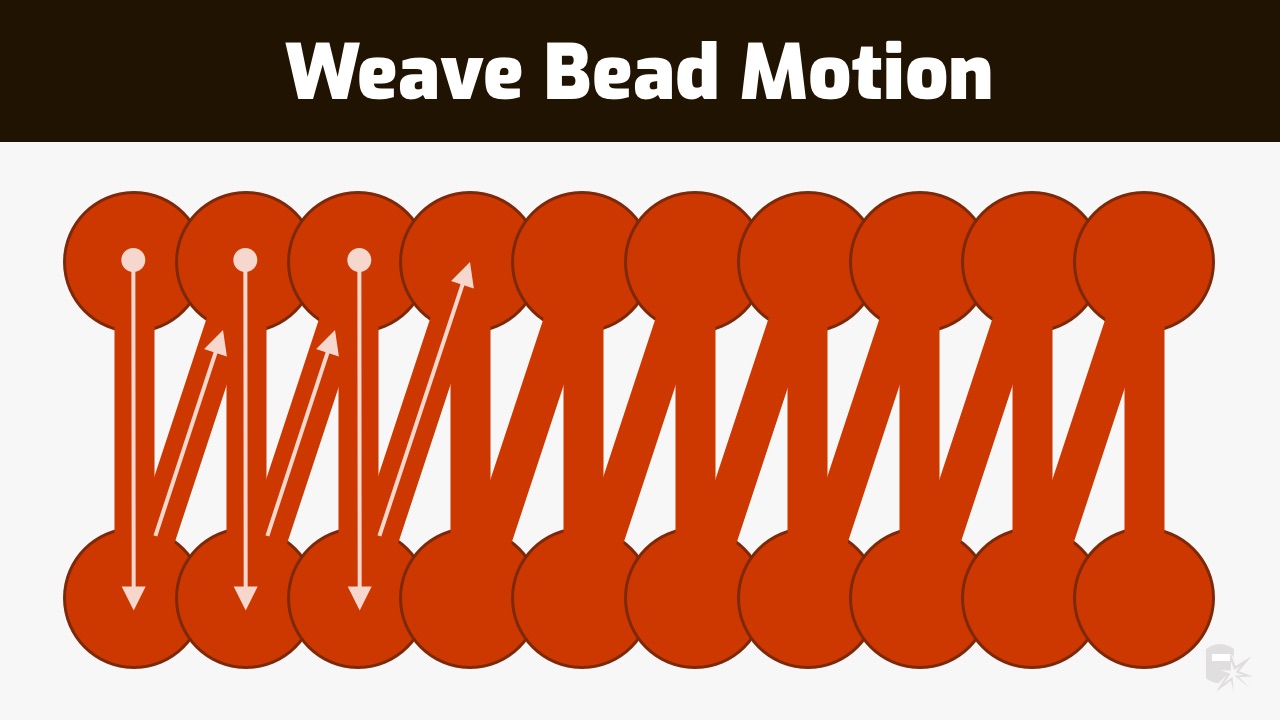
For wide welds, you can weave from side to side along the joint. For a fat joint, weaving is the fastest way to knock off a welding assignment.
This is especially true in the case of groove welds on thick stock. Weaves are also common on fillet welds.
Of course, there are different types of weaves, and every welder has his or her favorite. For example, your hand can perform a zig-zag, crescent, or curlycue motion.
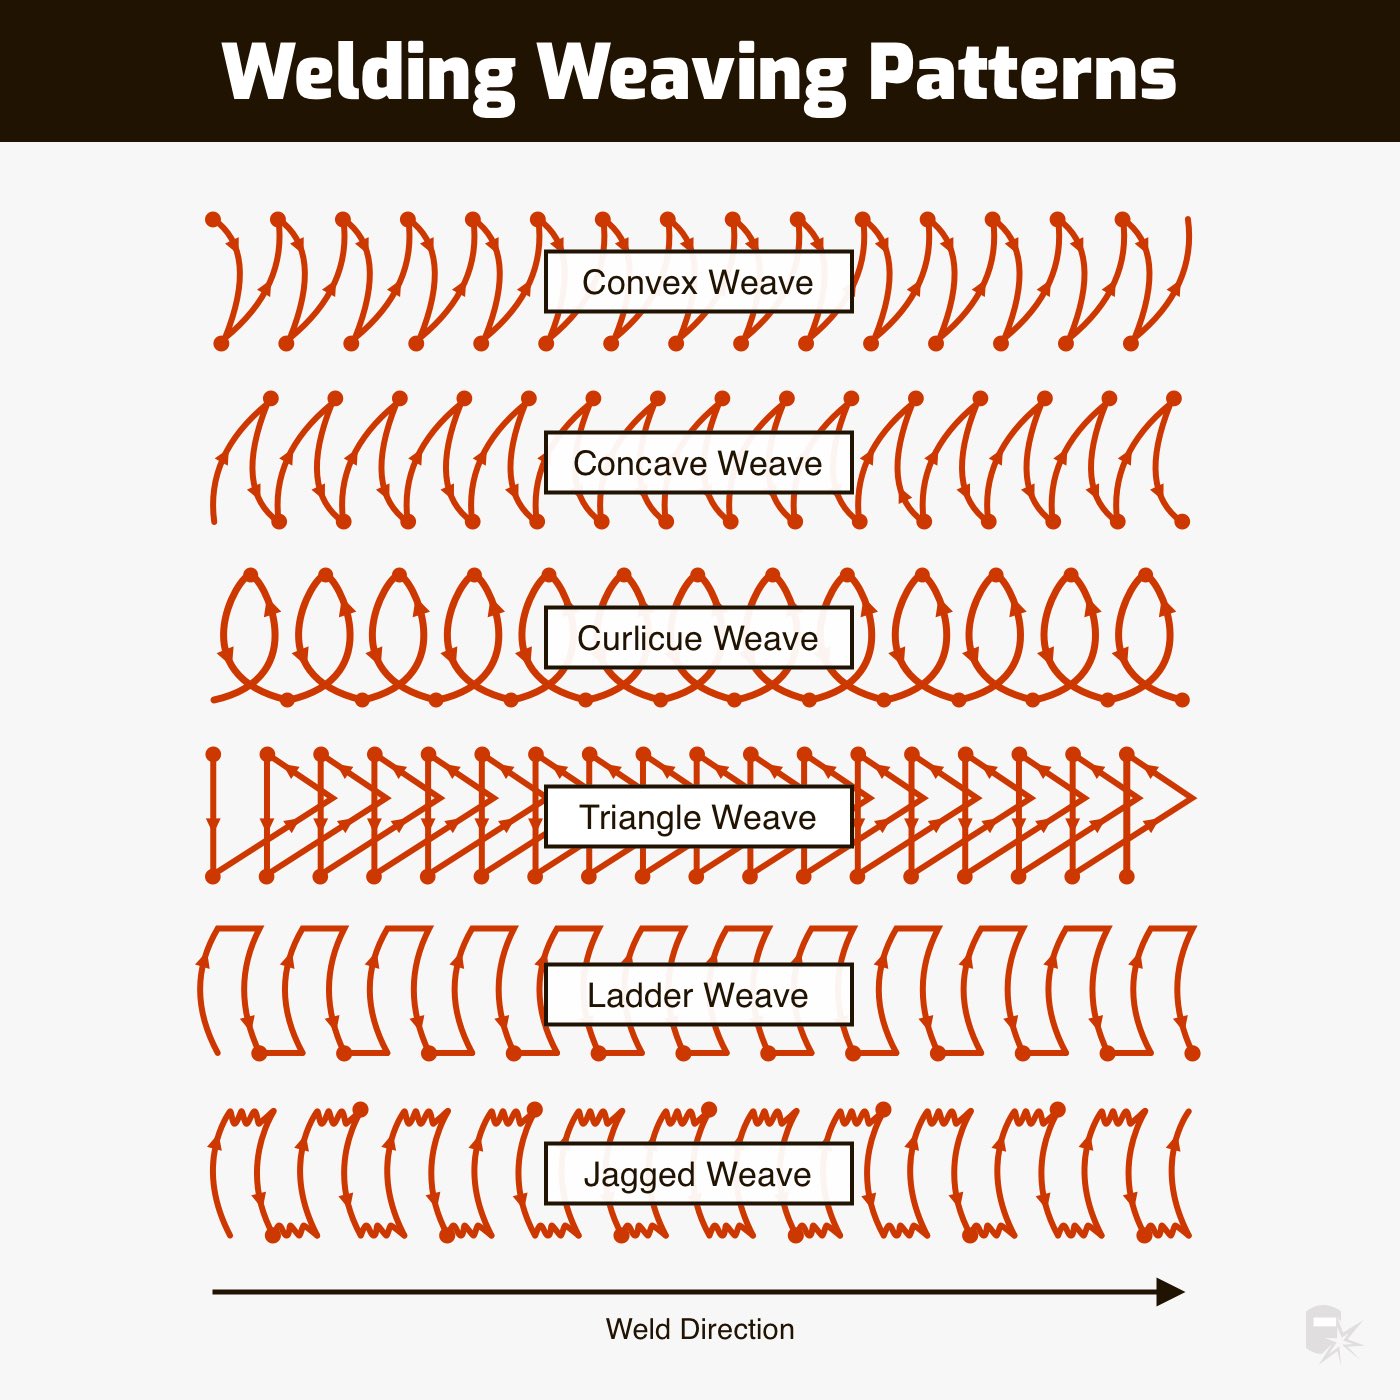
Besides filling a wider bead, weaving is used to control the heat in your weld puddle. In addition, you can pause on each side of the weld to achieve a good tie-in to the metal pieces and prevent undercutting of the edges.
However, when you move across the center of the joint, you’ll want to hurry. Otherwise, you may end up with a high crown (i.e., a bulge in the middle). Therefore, it’s better to have a flat or just slightly convex weld face when you weave.
A triangle weave is useful when you need to fill a steep pocket. In vertical-up welding, for instance, this weave technique allows you to build a shelf behind the puddle, which keeps the molten metal from sliding downward.
To keep the puddle from overheating or expanding, you can try a semi-circle weave, with the center point or your stroke crossing the front of the puddle (or just ahead of it). If you want more heat in the puddle, weave the semi-circle (or crescent) back through the puddle, as shown in the previous drawing.
Weaving in the overhead position can be challenging since gravity tends to pull the molten metal out of the weld. Even with practice, laying down an overhead weave bead a half-inch or wider can be a tall order. But welders learn to do it since weaving saves time compared to running multiple stringer beads.
[welder101]
Whip Motion (for Stick)
On open groove welds, a stick welder typically performs a whipping motion with his or her wrist on the root pass, which is the first weld operation performed. The objective is to fuse the work plates together at the bottom with a flat bead of weld metal.
The most common stick electrodes for root passes on low-carbon steel are E6010 and 6011 “fast-freeze” rods.
The welder drives the electrode up through and along the gap. This is essential to achieving complete penetration. As a result, you’ll see a keyhole appear in the opening at the head of the puddle.
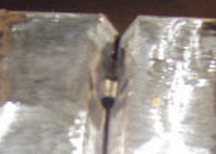
This is one of the most difficult strokes that welders learn. In addition to watching the puddle, you also have to maintain the keyhole size. If it gets too big (i.e., more than twice the diameter of the rod), then you won’t be able to fuse the two sides together. That’s why heat control is crucial during a root pass.
In addition to proper joint design and welder settings, you can control the size of the keyhole with the frequency of your whip strokes.
Before the keyhole size expands too much, you’ll whip the rod a little upward and ahead of the weld. This action cools everything down and keeps the keyhole size constant. It also allows the bead at the back of the puddle to solidify.
As soon as the bead hardens, you whip back to the molten puddle, and another drop of weld metal should fall off your rod (if you’re stick welding), creating your next dime.
All of this happens pretty quickly. So, you need to pay attention, and the rate of whipping is determined by the level of heat you observe in the weld.
When you first start a weld, you may not be whipping at all because there’s not enough heat yet. By the time you reach the end of the weld, you may be flicking your wrist at a steady clip because of the high heat flowing through the base metal.
Whip Variation – The J-Weave
A variation on the whip motion is called a “J-weave.” It’s a combination of the crescent and whip strokes and is usually used on the second (aka “hot”) pass of a V-groove joint.
Here, you move your E6010 or other fast-freeze electrodes from one toe to the other, pausing briefly on each side, and then whip the rod ahead and upward along one side of the joint for a moment.
For this task, a longer arc is helpful. And just as you would on a root pass, after whipping ahead, you’ll whip back to the next open area on the left (or right) toe of the weld and repeat the stroke.
Walking The Cup (for TIG)
On a root pass for pipe, welders often use a TIG torch. It gives you a cleaner, more precise bead than you can get with stick or MIG welding.
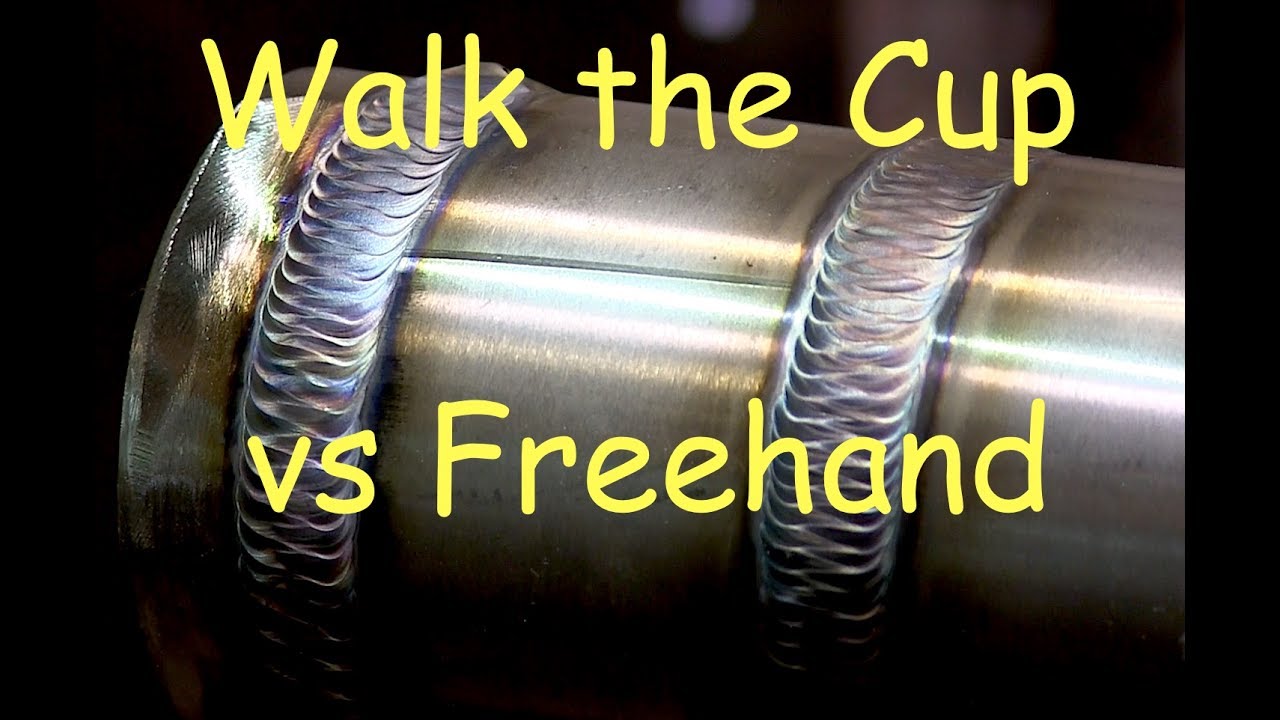
Also, the process usually incorporates a specific hand stroke known as “walking the cup.” In this case, the cup is the ceramic insulator surrounding the tungsten tip. The welder simply rocks the cup back and forth along the weld joint.
It is easier to demonstrate, and the video below provides more detail on this technique:
Wrapping it Up
As you can see, filling a joint with material relies heavily on how you move your torch, especially with wider joints. Knowing the various methods and understanding these techniques can improve the quality of your welds.
Not only do you need to properly prepare your joint, pick the right filler material, and set up your welder correctly, you must also use the right torch movement technique for the particular bead you want to create.
The four methods covered provide a solid start. But keep in mind there are variations and fine details to master for these torch manipulation methods. The best way to add all of these techniques to your welding repertoire is through practice, lots of it.
